Blogg

Blogg

tisdag 17 oktober 2023

Boo

Hello and welcome, 

Today I will share a tag I made with Tim Holtz products, the new Halloween dies and stamps. 


I started with the background , a piece of Watercolor cardstock and used the talented Tami B’s ”iron-off embossing” technique. I used the stamp CMS466 Shattered, then some of the new Mica spray’s. 
I used the spray as spray and also to splatter on top of the background. 


I stitched around the edges with my sewing machine and then used Black soot Distress crayons, also around the edges. After I colored the spider I used a this black pen and did some decoration. 


I diecut all the pieces from Watercolor cardstock (accept from the background for the text ”boo”, the skull’s eyes and bats. For them I used Ideaology Blackout paper which I sanded). 

All the white diecuts is colored with Distress inks. ”Boo” is colored with Spiced marmalade” Distress ink, then embossed with Wild honey Embossing glaze. On top of that, Distress crayon in Walnut stain. I inked all edges on the diecuts with Ground espresso Distress ink. 


I used white Posca pen to ”highlight” the bats and inside the letters on ”boo” 


For the small text I used CMS409 Tiny text Halloween, stamped it on a piece of Watercolor cardstock with Archival ink in Black soot. Inked the edges with Distress ink Ground espresso. Then I used mini fasteners to adhered the sentence to the background. The other pieces accept from the bats are adhered with 3D foam. I used gule for the bats. 


I mounted the background on a piece of sanded orange Kraftstock, with 3D foam. Then adhered to a black cardblank, also with 3D foam. 

I will try this card over at Simon Says stamp - Text it. 

Thank you very much for visiting, 

/Susanne


måndag 9 oktober 2023

Halloween tag

Hello and welcome, 

I was so inspired after Tim’s Halloween Hoopla so I wanted to make some Halloween makes, and this tag is one of them. I have used Tim’s products.


I started with a No 8 Mixed media tag, and used some mini stencils and Black texture paste.


I sprayed the tag with some Mica stains. Stitched around the edges with my sewing machine and also inked the edges with Black Distress ink and Distress crayon.


I stamped the text and spider web image from the new Halloween stamp sets on the background. 
Then I stamped the skull, spider and candle on watercolor paper and colored them with Distress inks and Mica stain. I used Glossy accent on the candle flame and on the spiders head.


Here you can see the stamped text better in the lower left corner.


I mounted all images with 3D foam for dimension. I used Black soot Distress ink around all the edges.


All images are fuzzy cut accept from the spider. I used a knife to cut out the spider. I put a Hex fastener in the eye of the skull. 


“Immortal beauty….” is a Clipping sticker Halloween which I inked the edges on and mounted with 3D foam. I put a piece of inked string in the top hole.


I will try this tag over at Simon says stamp Monday challenge - Add some texture.

Products used: 
No #8 Mixed media tag
Stamps: CMS470 Foreboding, CMS471 The Obscure
Ministencils: THMS046 and THMS063
Texture paste black
Mica stains
Glossy accent
Distress inks and crayon
Clipping sticker Halloween 
Archival ink Black soot
Hex fastener

Thank you very much for visiting, 

/Susanne


lördag 7 oktober 2023

Edison in the Moonlight

Hello and welcome, 

I am fortunate to have been asked to have some classes at my local craft store. And this is one of the makes I have teached. 

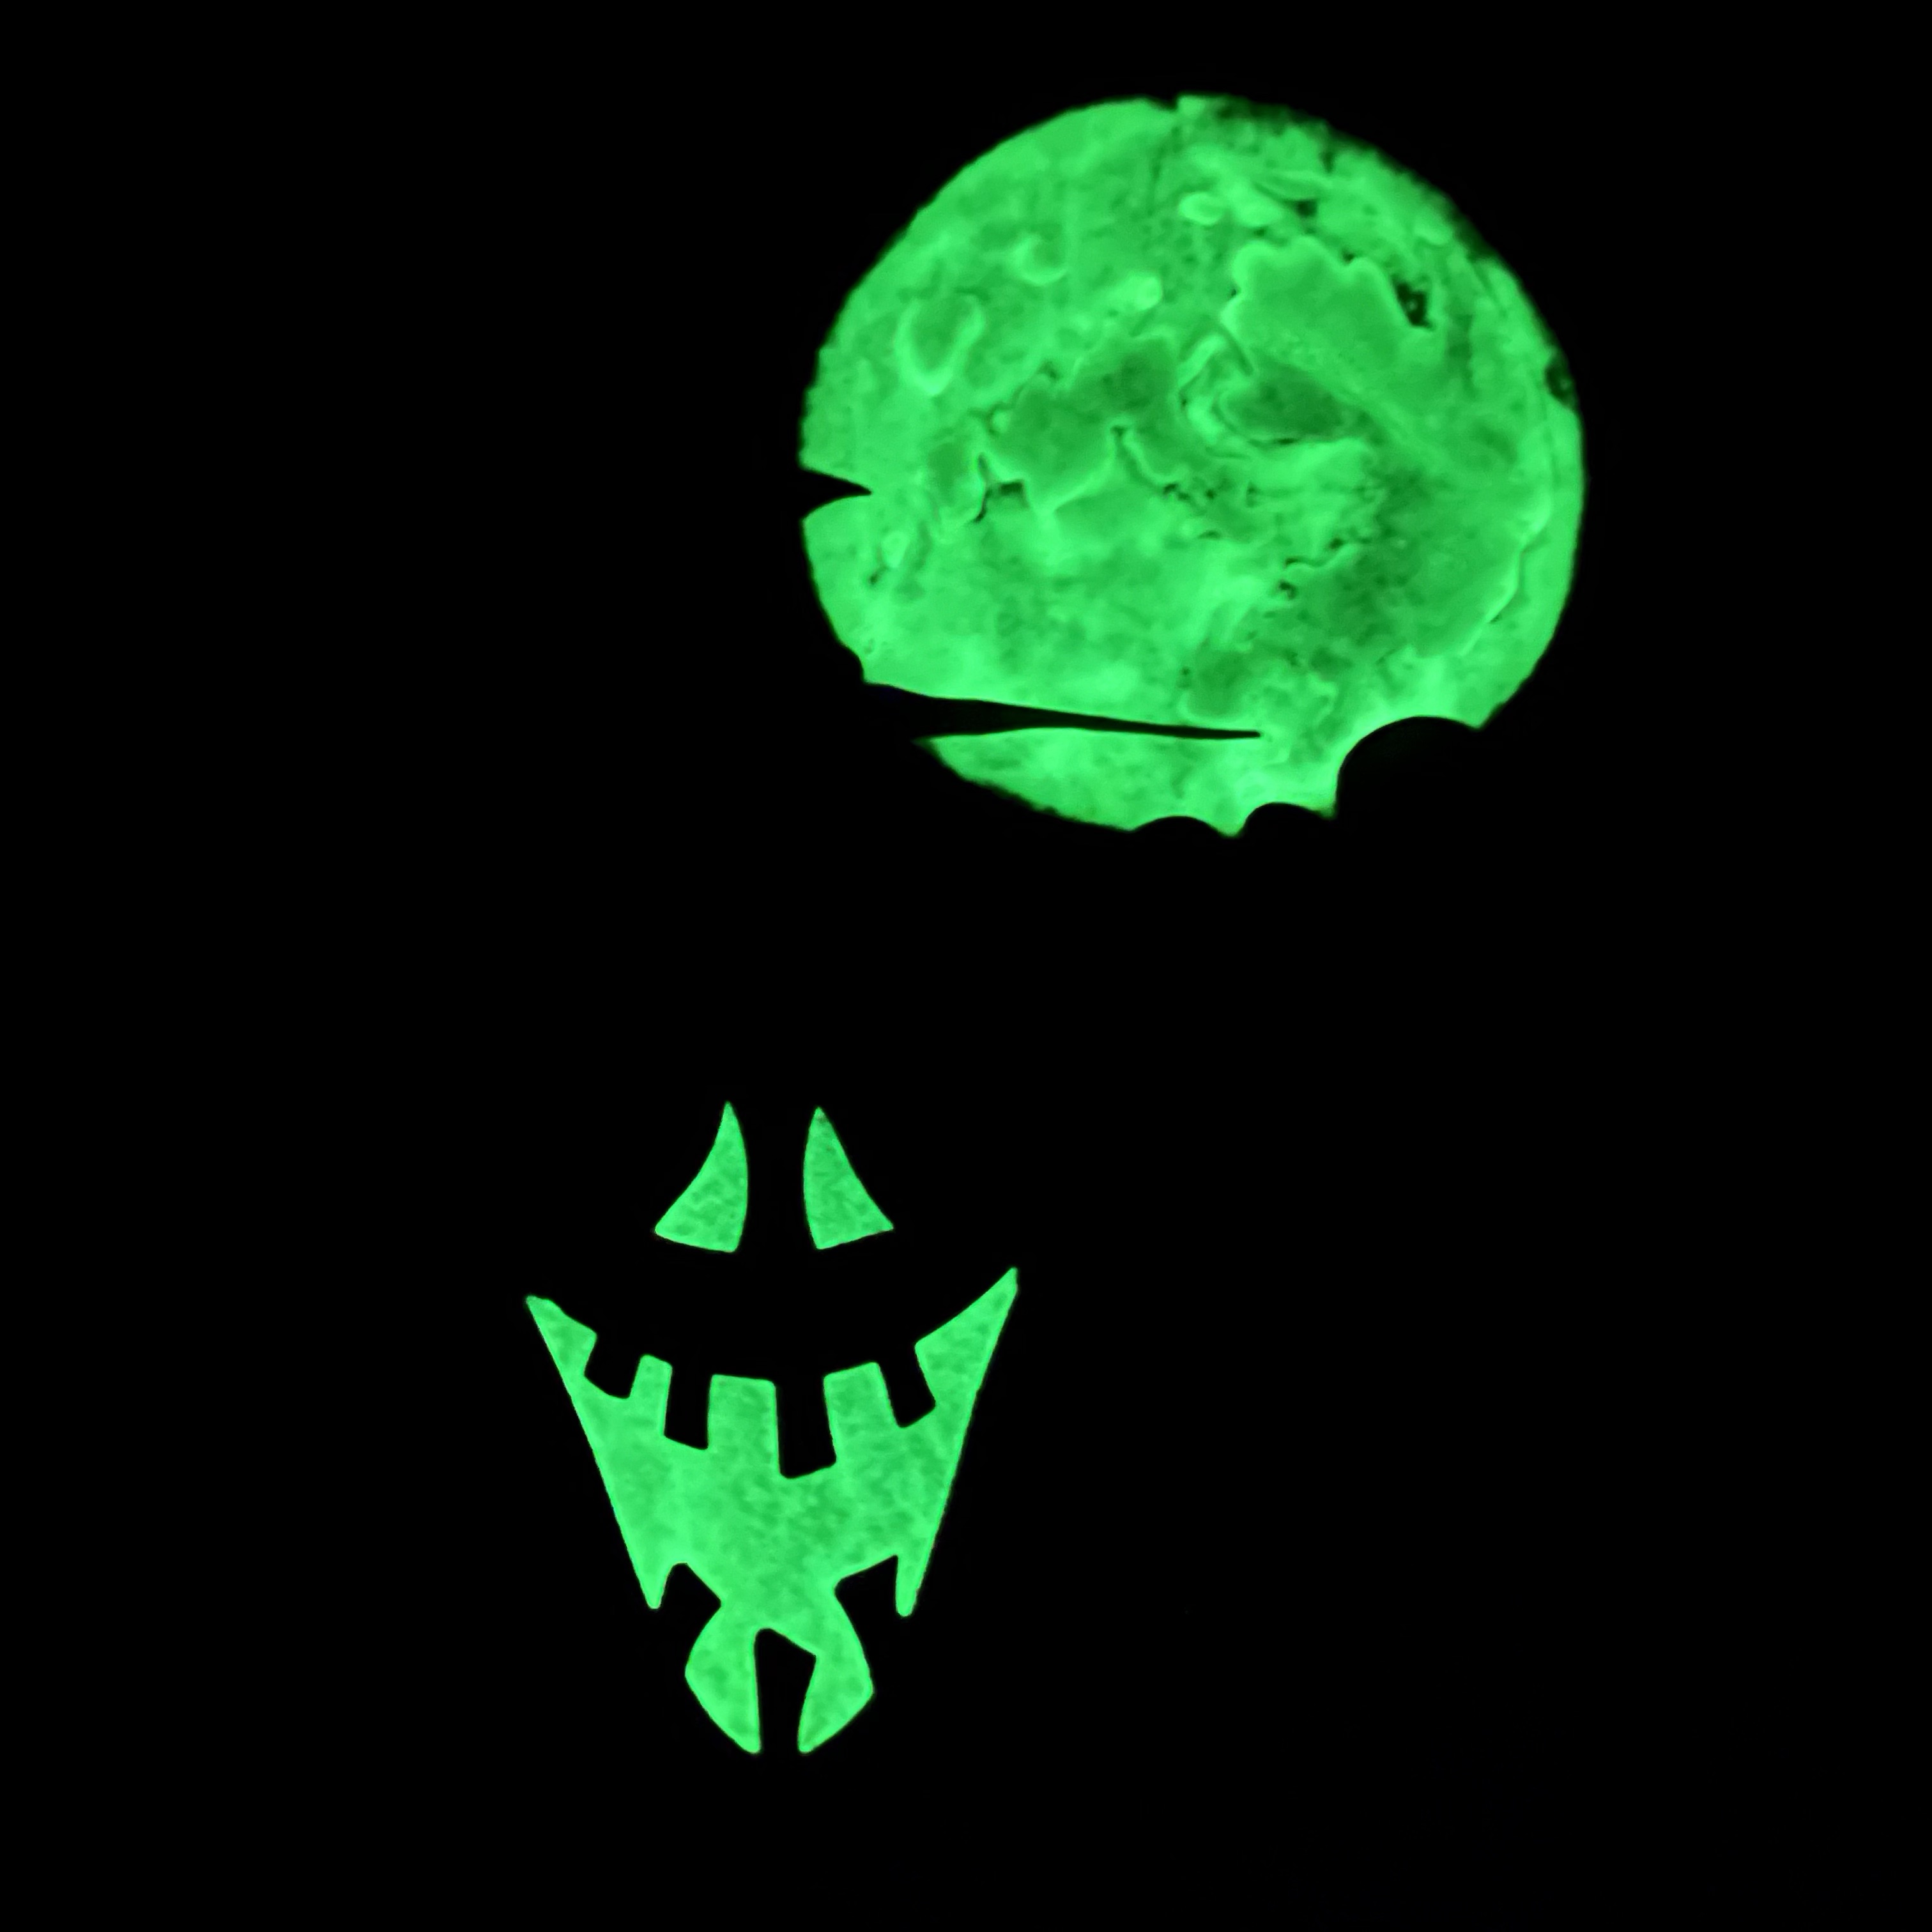
In the classes I use Tim Holtz products and this time I used the new pumpkin die Edison, Moonlight, the new Grit paste glow and the new Distress Mica stains. 


The “students” was able to choose if they wanted to make it as a home decor piece or a card. 


We used the Grit paste glow on the moon and on the eyes and mouth on Edison. 


I will try this card in the “Add som texture” challenge over at Simon says stamp Monday challenge

Thank you for visiting! 

/Susanne 


Halloween kids tag

Hello and welcome, 

Today I will share a tag I made a while ago. 

I have used a background I made last year with microglaze technique. Such a fun and effective technique. 

Then I colored the paperdoll children with Distress pencils. Mounted them on the tag with 3D foam, a ticket and a clipping sticker. 

The web are Tim Holtz stamps CMS346 Tangled webs embossed with white embossing powder.


Thank you for visiting, 


/Susanne 


torsdag 14 september 2023

”She did not belong…”

Hello and welcome, 

Once again it was a while since I posted here, not that I don’t have been crafting but just not posting. But today I will share a tag with Tim Holtz new stamps and Mica stain sprays. 


I started to stamp with CMS471 Obscure on a Mixed media tag. I used the talented Tami B’s “iron off embossing powder technique”. Such a cool technique. I love the smooth feel and cool look. 


Then I sprayed with the new Mica spray stains’s in Specimen and Fallen acorn. Then I stamped with CMS466 Shattered with Archival ink Black soot. 
I added Distress Collage medium to the wing and glued it behind the paper dolls. I also put a mask on the girl. (The wings and paper dolls are from Ideaology “Layers & Paper dolls”. The mask is from Stickerbook Halloween 2023). 


I inked the edges with Black soot Distress ink and then stitched with my sewing machine. I stamped the date and month with embossing ink and embossed with gold powder. Then I inked the edges on the “saying” from Ideaology Stickerbook Halloween 2023,  with Black soot DI and adhered to the tag. 


I stamped “Halloween night” with embossing ink and embossed with gold powder. 


I finished off the tag with a string in the top hole. 

I will try this tag in the challenge “Take flight” over at Simon says stamp blog Monday challenge.

Thank you for visiting, 

/Susanne 


måndag 10 juli 2023

Ice cream

Hello and welcome, 

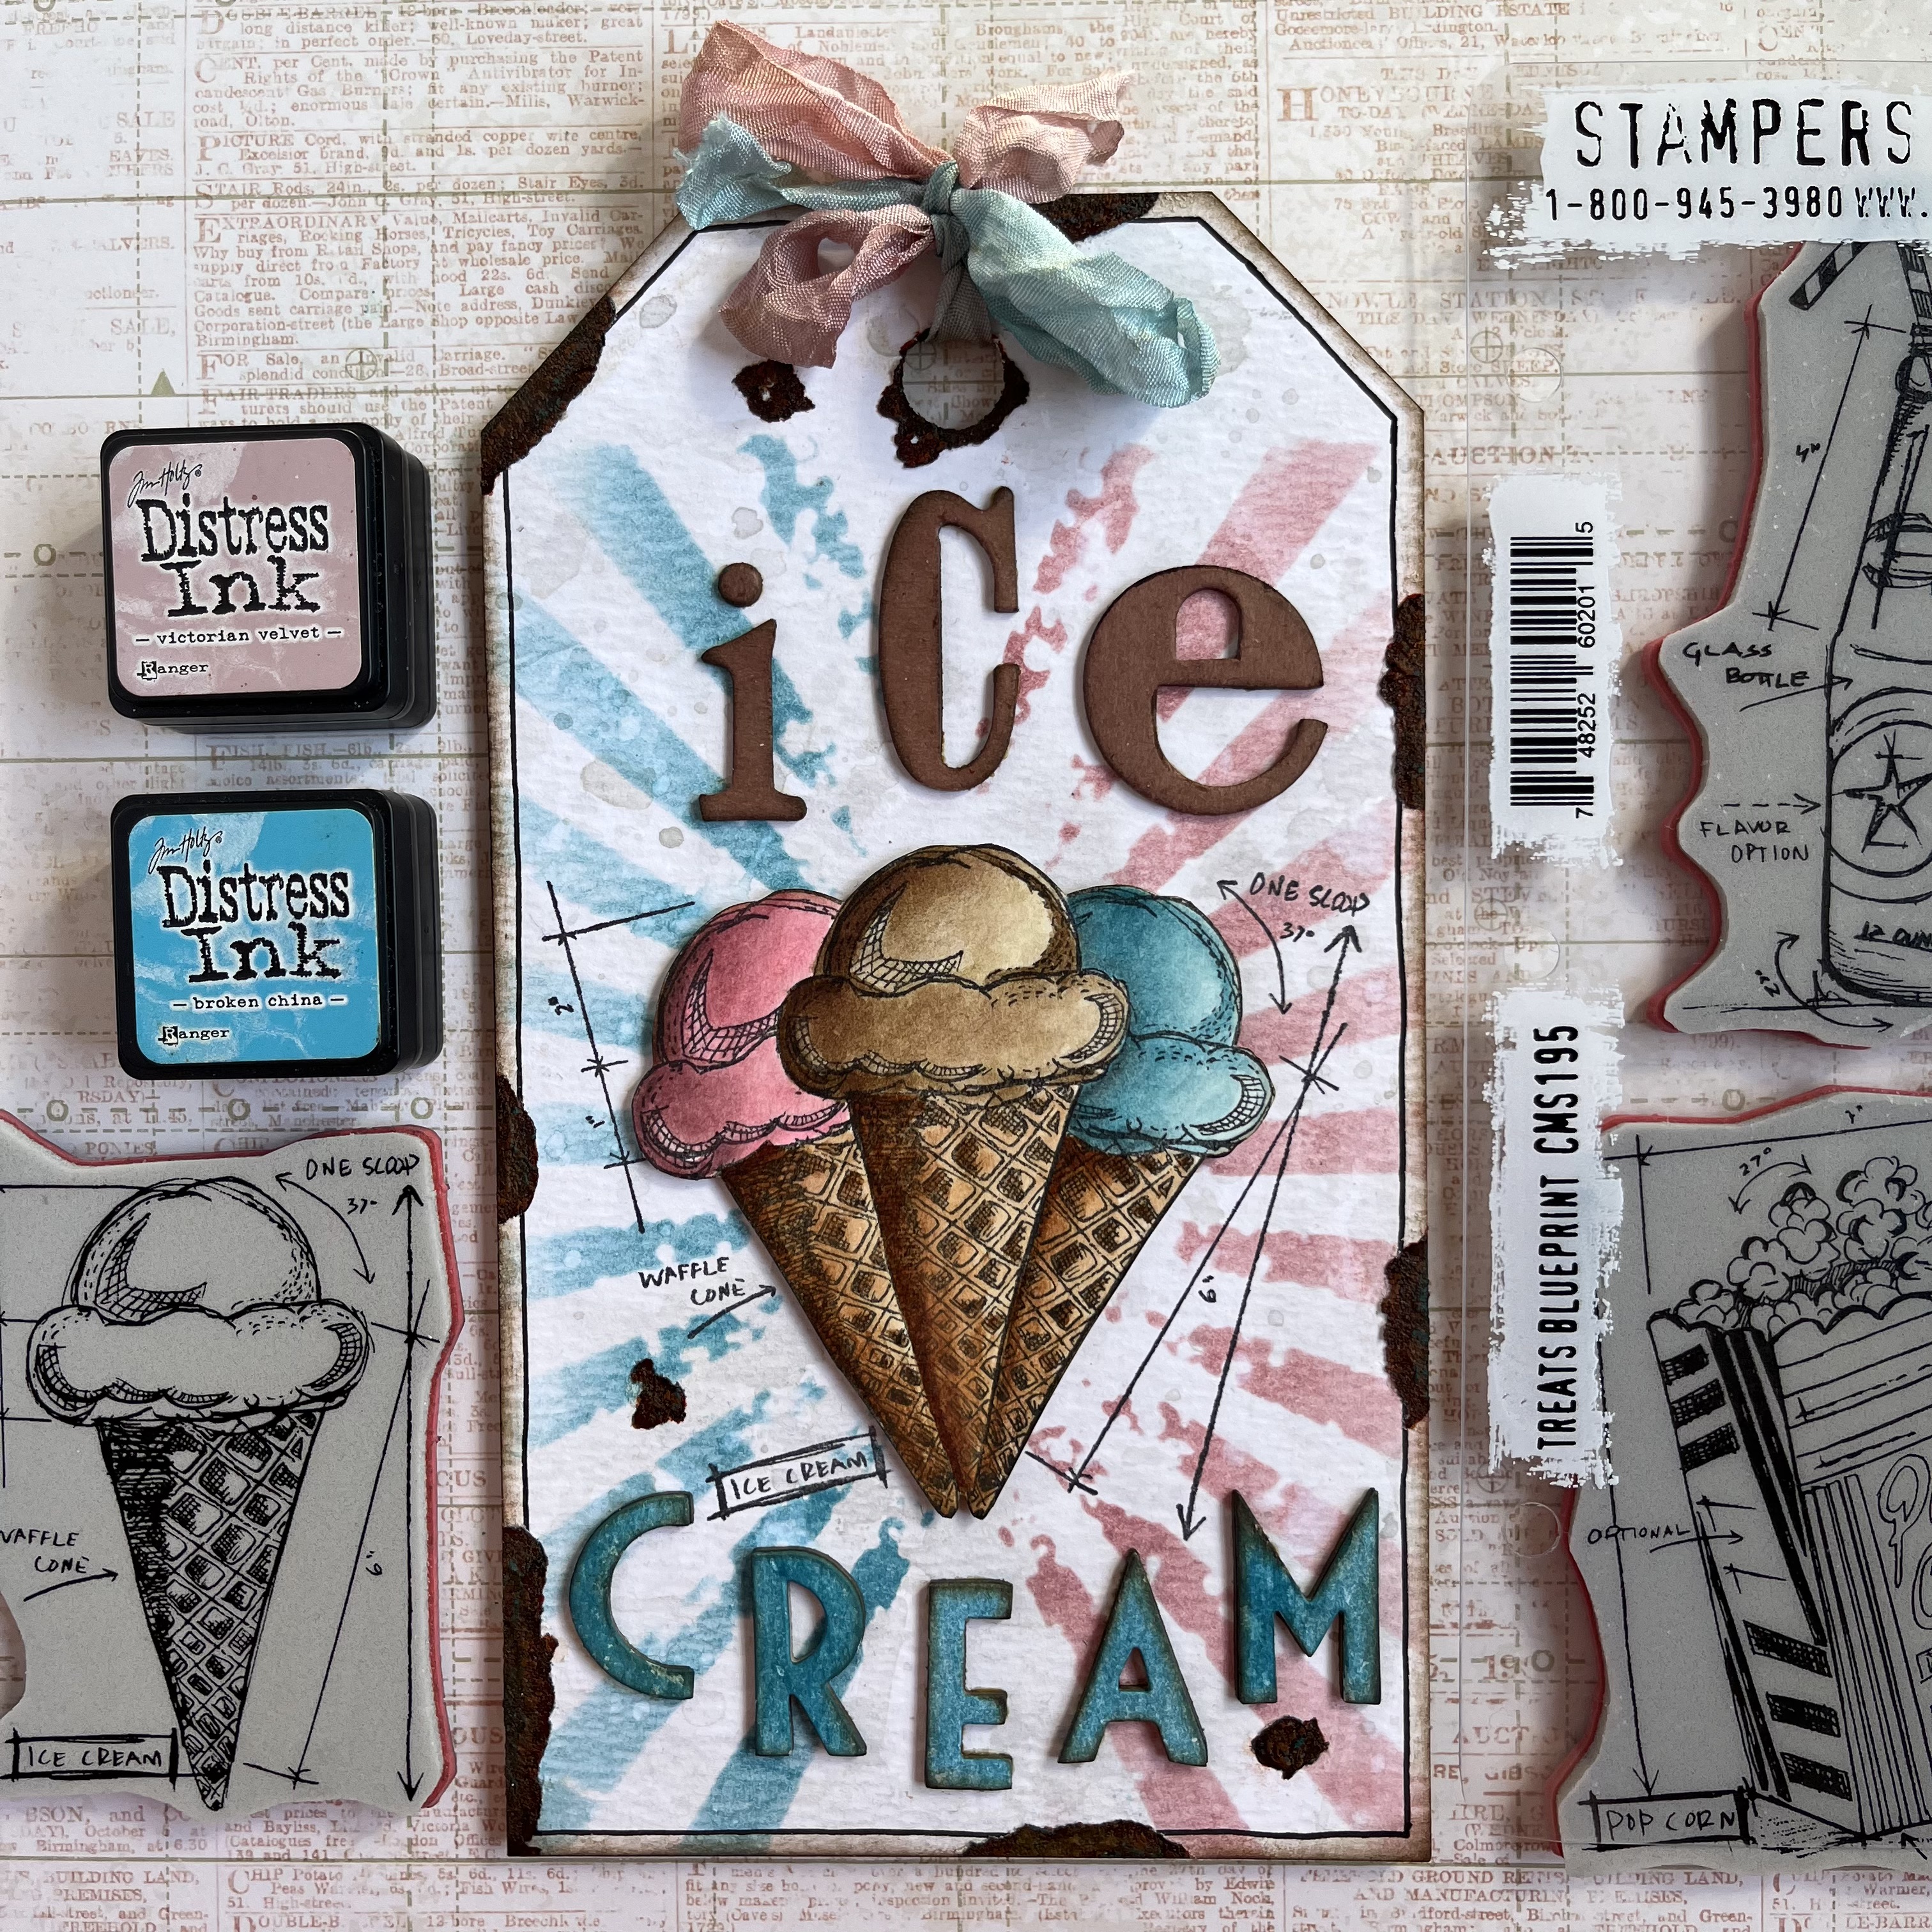
Today I have a tag to share. I have used Tim’s CMS195 Treats blueprints as focal point. I masked the ice cream stamp. 

I was inspired by the challenge over at Simon Says stamp Monday challenge - Summer mood board. I saw the ice cream and then this project was started. 

The aim was to make a tag with retro wibes and the look of an old enamel sign. With some rusty details. 


Products used: 
Stencil: THS003 Rays
Stamps: CMS195 Treats blueprint
Dies: 657837 Word play Bigz XL, 661815 Deco Bigz XL
Tag: Etcetera tag, 11,5*20,4 cm
Watercolor paper, Distress inks, Archival ink, Distress reinker, Crinkle ribbon
For the rust: Deco art Texture sand paste, Acrylic paint and Distress crayons

Maybe I will make a tutorial on this later. Now I will take a ride on my bike in the sun. 

Thank you for visiting my blog, 

/Susanne 

onsdag 14 juni 2023

To the moon and back

Hello and welcome, 

This is a card which I made for my lovely husband on his birthday.

I have used Tim Holtz products. 


I started with the background, a piece of white heavystock. Inked my craft mat with Distress ink Uncharted mariner, spritzed with water and then dipped the background in the ink. I repeated and dried between layers with my heat tool. When satisfied I used the Bold text #2 die from Sizzix (665925)


I inked the edges with Frayed burlap DI and stitched with my sewing machine. Then I used the stencil from Stamptember 2019 set and put Crackle paste through it. Before I let it dry I used embossing powder in Platinum. Let the paste dry completely and then heat with heat tool.


I used the same bold text die on an DI inked piece of Cracked leather cardstock. Inked the edges on all letters with Frayed burlap DI and glued them in place on the background. (I glued a piece of copy paper behind the background). 

The moon is cut from Otis (665998) white heavystock, and inked the same way as the background. The heart is cut from (660953), Crazy things. I cut the heart from White heavystock 5 times and glued them together, then drilled a hole with my Dremel tool. I also drilled a hole in Otis. 

I used a steelwire to attached the heart. 


I cut a piece of yellow Kraft stock, sanded and inked the edges with DI Ground espresso and mounted with 3D foam behind the background. Finally I cut a piece of Blackout Kraft stock, sanded and made a card blank. I used 3D foam between that layer as well. 

Thank you very much for visiting my blog, 

/Susanne