Blogg

Blogg

måndag 12 december 2022

Icy wreath

Hello and welcome, 

When I saw the Tim Holtz CMS458 Department store stamp set, I knew I had to have it. I love to color stamped images and this set welcomes you to do so. 

I started with a piece of Watercolor cardstock, stamped the music stamp random with Distress embossing ink and used platinum embossing powder. Heated with my heat tool. 

Then I sprayed the background with Distress Mica stains in Winter frost, Frosted juniper and Empty tomb. I inked the edges with Frayed burlap Distress ink. I used the Frosted juniper and spritzed some speckles on the background. 

I stamped one of the stamps in the upper left corner with Black soot Archival ink.


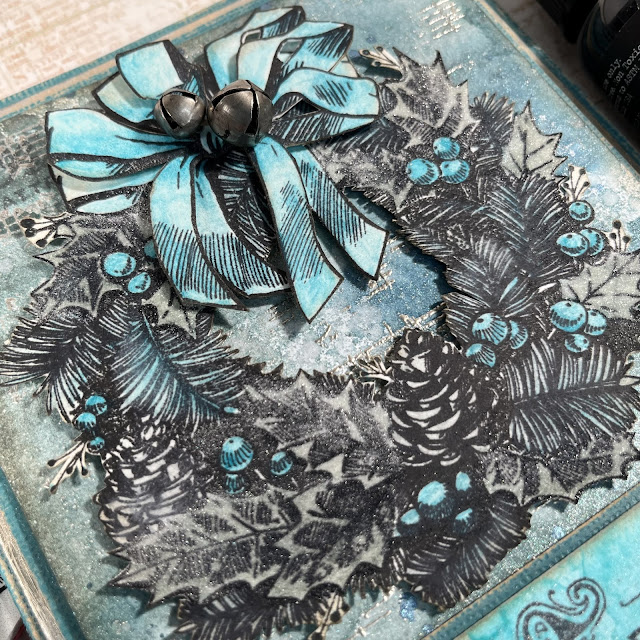
Then I stamped the wreath on Watercolor paper and colored it with my Distress pencils. I stamped the bow twice and colored. Then I inked the Holly leafs with Embossing ink pen’s, and added Frosted Crystal embossing powder. Then heated with my heat tool.


I fuzzy cut the wreath and the extra bow, inked the edges with Frayed burlap Distress ink. 


I cut a piece of Distress white heavystock, inked it with Distress inks and stamped the “Merry Christmas” with Ground espresso Archival ink. Then I inked the piece with Distress ink embossing ink and used Frosted Crystal. I inked the edges with Frayed burlap Distress ink. I layered the plaque on a sanded and inked piece of  Kraftstock, with 3D foam. In each corner I put a Mini fastener. 


I layered the card on an inked and sanded piece of Kraftstock, then a sanded and inked Metallic Kraftstock platinum, and finally a green cardbase made of sanded and inked Kraftstock with 3D foam. 


I put hexagon fastener’s in the upper corners and mounted the wreath on the card with 3D foam. 
Tied som string around the card under the plaque. I used some string and fastened two tiny bells on the bow’s. 

Thank you very much for visiting my blog, 

/ Susanne

Totally inspired by Tim Holtz Holiday hoopla

Hello and welcome, 

Here are my take on Tim’s idea with the poinsettia 3D embossing folder. I must say I was so tempted to try this technique. If you have missed Tim’s Holiday hoopla inspiration, search for it on YouTube.

So much inspiration! 


Thanks for visiting, 

/Susanne 

Bottle brush trees - Believe in the magic

Hello and welcome, 

This card is very similar to the card in my last blogpost. 


I used another die for the words on this card. 


I used white heavystock behind the words instead of Woodgrain cardstock on this card.


Thank you very much for your visit today, 

/Susanne


Bottlebrush trees - Joy

Hello and welcome, 

It’s time for some Christmas cards! A little late to the party on social media, but here I have some cards anyway. 

I have used the new stamps and dies from Tim Holtz for this card. 


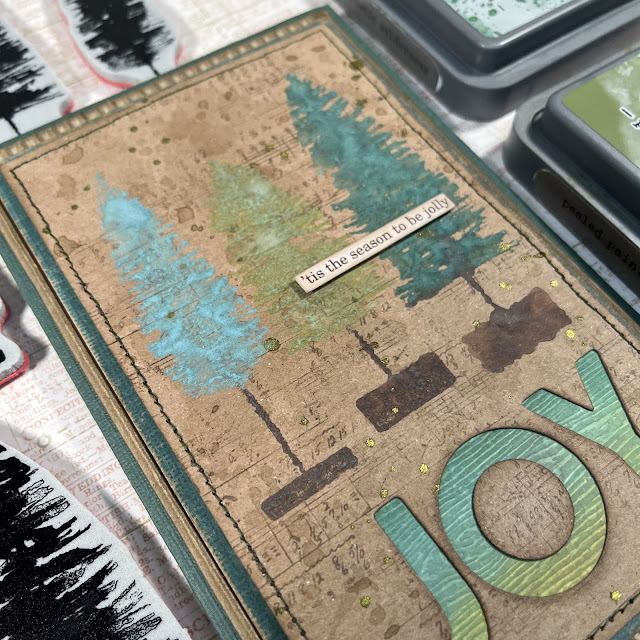
I started with a piece of Heavy Kraft stock, inked my craft mat with Frayed burlap Distress ink, sprayed with water and dipped the background. Heated with my heat tool. Repeated until happy. Then I stamped the music stamp from CMS458, Department store with Ground espresso Archival ink. 

Time to stitch around the edges with my sewing machine. 


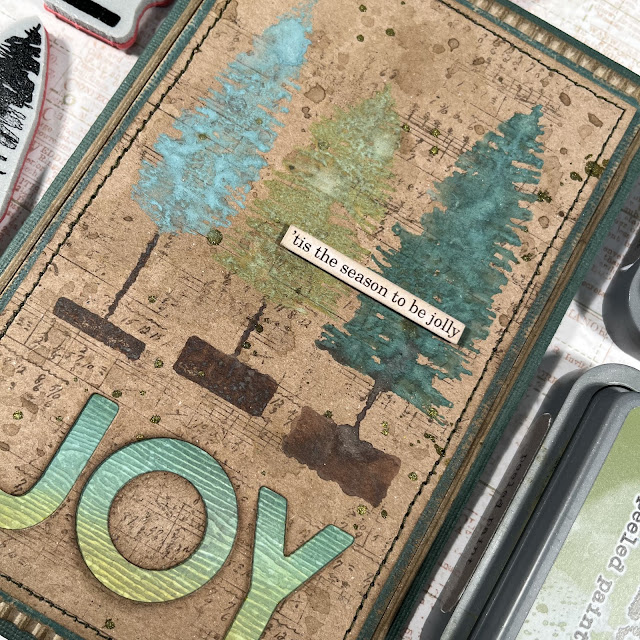
Then it was time for the bottlebrush stamps. I put them in my stamp tool, one at a time, inked with Distress Oxides and sprayed a little bit with water. Then stamped. Dried with heattool. Then I repeated the same with all three trees. 


I diecut the word “Joy” with Sizzix die 666062, Bold text Christmas. Then I inked some Woodgrain cardstock with Distress Oxides, in an ombré style. Then I glued that piece behind the diecut. 

I opened the cap on the Distress mica stain Holly branch and splattered some on the background. Heated again. 


I mounted the background on sanded and inked Kraftstock, then on an inked piece of cardboard with 3D adhesive. Then I glued the card to a Kraftstock card blank.
I finished the card off with a Clipping sticker Christmas which I inked and adhered with a 3D foam.


Thank you for visiting my blog today, 

/Susanne