Blogg

Blogg

söndag 20 oktober 2024

His transformation….

Hello and welcome , 

Today I want to share a tag that is a little bit creepy… I love to make tags like this😊. 

I started with a #8 Mixed media tag and used Distress texture paste matte and stencil THS162 Thorned. Let dry completely. Then I sprayed three diffent lilac shades from Distress Mica stains and one lilac and one orange from Distress Spray stains. Dried with heat tool. Then I took Black soot Spray stain and unscrewed the spray cork and used the end of that and adhered some stain. Sprayed with water and heated. Repeated a couple of times. 


Then I stamped the flower stamp from CMS471 with embossing ink and used white embossing powder. I heated with embossing gun. 


 I did the same with the Oct. 31 stamp.

Used Black soot Distress crayon around the edges of the tag.


I ”painted” some white chalk paint on the backside of some Ideaology Mini marquee letters. A tip I totally copied from the Very talented Vicki Evans, seen on her blog yesterday. I think that gave such a cool look.


I used a paperdoll, some wings, a skull, a hat and a masque from Tim’s Ideaology. Inked the edges on all pieces with Distress ink Black soot. I put the pieces together and adhered with 3D foam. I used some black sewing thread to attach the skull to the boys hand. 

The text is from the latest Halloween Sticker book. I choose a sentence, inked the edges with Distress ink Black soot and adhered with 3D foam tape behind for some dimension.


Thank you for visiting my blog, 

/Susanne


Ho! Ho! Ho!

Hello and welcome, 

Today’s card is also made with the new ghost stamps from Tim Holtz. I wanted to make a colorful card.

I started with the background and cut a piece of Watercolor cardstock. Then I sprayed some Distress Mica stains, spritzed some water and heated. Dried with heat tool. Then I used some Distress Oxides and water on my craft mat. Dipped carefully and dried again. Repeated until happy. I used black acrylic paint and splattered some on the background as well.

Next up, the THS171 Fractured stencil and some black texture paste. Let air dry. After that I stitched with my sewing machine, and inked the edges with Black soot DI.

I stamped the Ho! Ho! Ho! with embossing ink and added black embossing powder. Heated. 

I stamped the ghosts on Watercolor paper and colored them with Distress Inks. Inked the edges with Black soot DI. Then I stamped the spiderwebs on the ghosts with Black soot Archival ink, using CMS346 Tangled webs stamps. I also splattered some black acrylic paint on the ghosts. And spritzed some water droplets on them and heat dried.


Of course you need a mask even if you are a ghostđŸ‘»,  so I die cut a mask from 664195 Masquerade (an old die set), inked the mask with embossing ink and used black embossing powder. I used a white Posca pen for the white dots in the eyes. 
Insedd 3D foam to adhered the ghost to the background for dimension. 


Then I cut a piece of Watercolor cardstock and inked it with orange and violet DI. Spritsen some water droplets and heat dried. Inked the edges with DI Black soot. Stamped the ”Trick or treat” with Distress embossing ink and then used black embossing powder. Heated. 
I used mini fasteners to adhere that piece to the card. 


I cut a piece of orange cardstock, inked the edges with Black soot DI and adhered the background with 3D foam. Then I made a card base from black Ideaology cardstock which I sanded the edges on. 3D foam in between the layers. 

Thank you for visiting, 

/Susanne


lördag 12 oktober 2024

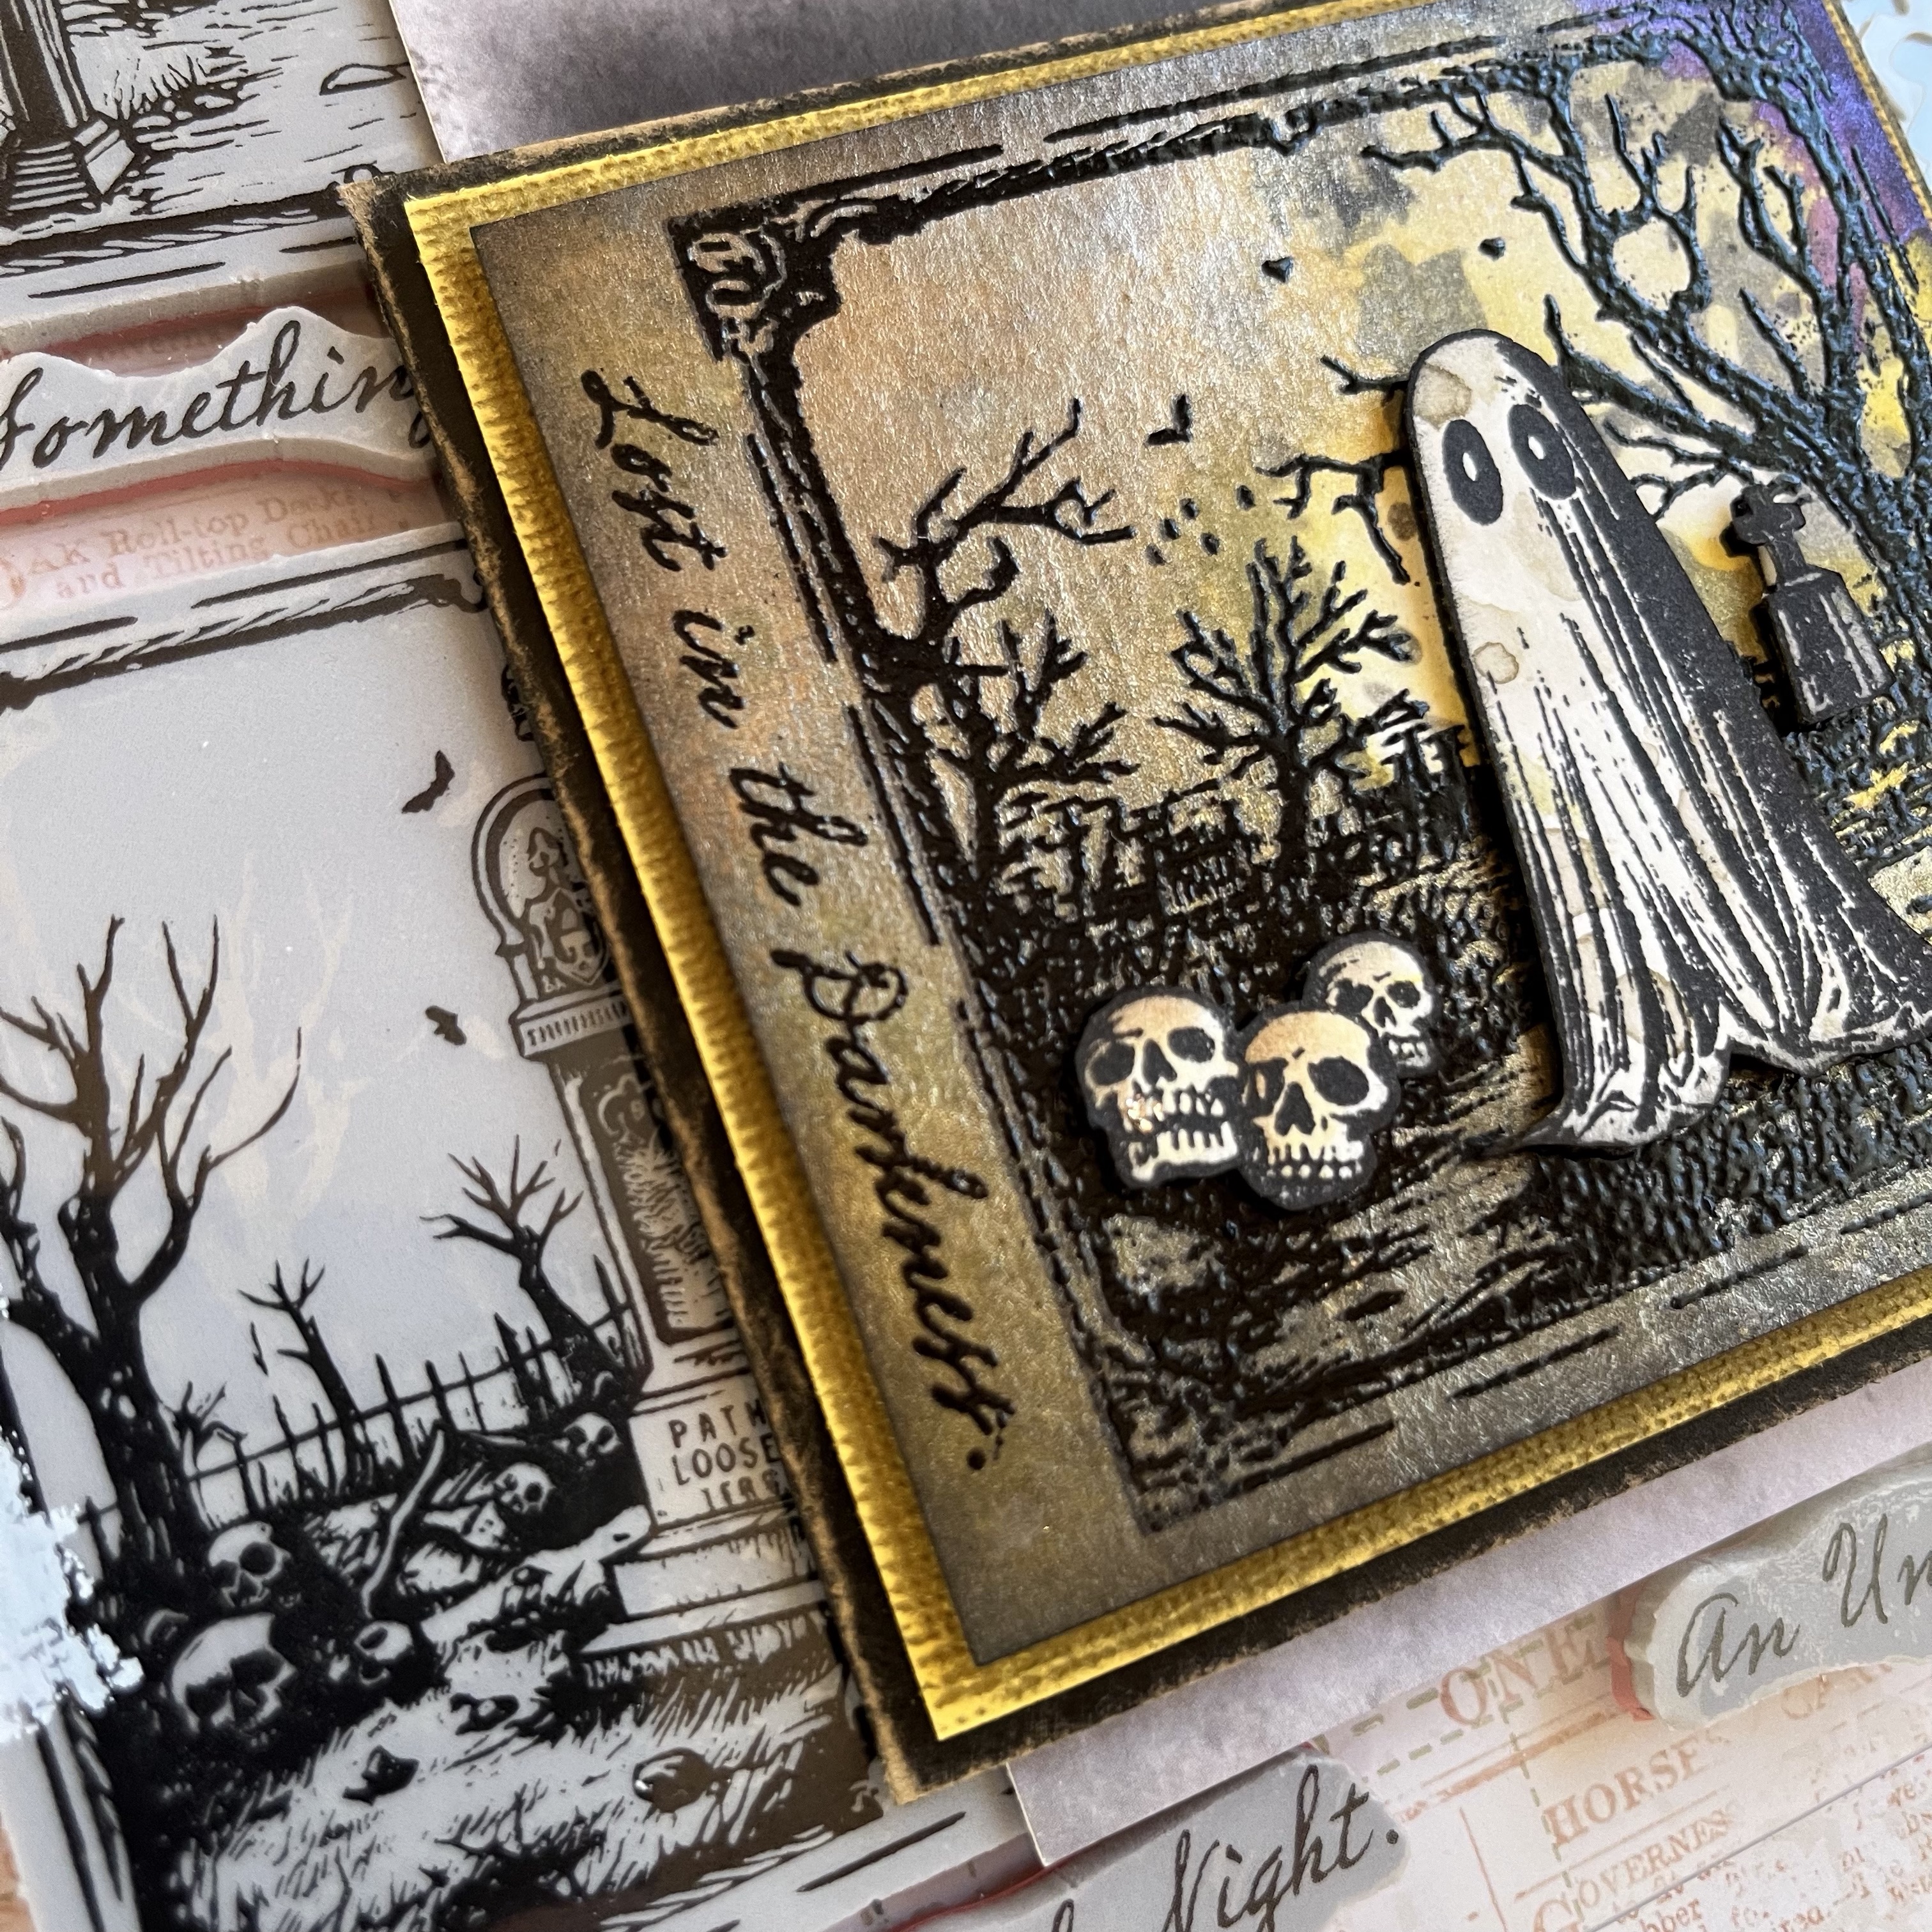
Lost in the darkness

Hello and welcome, 

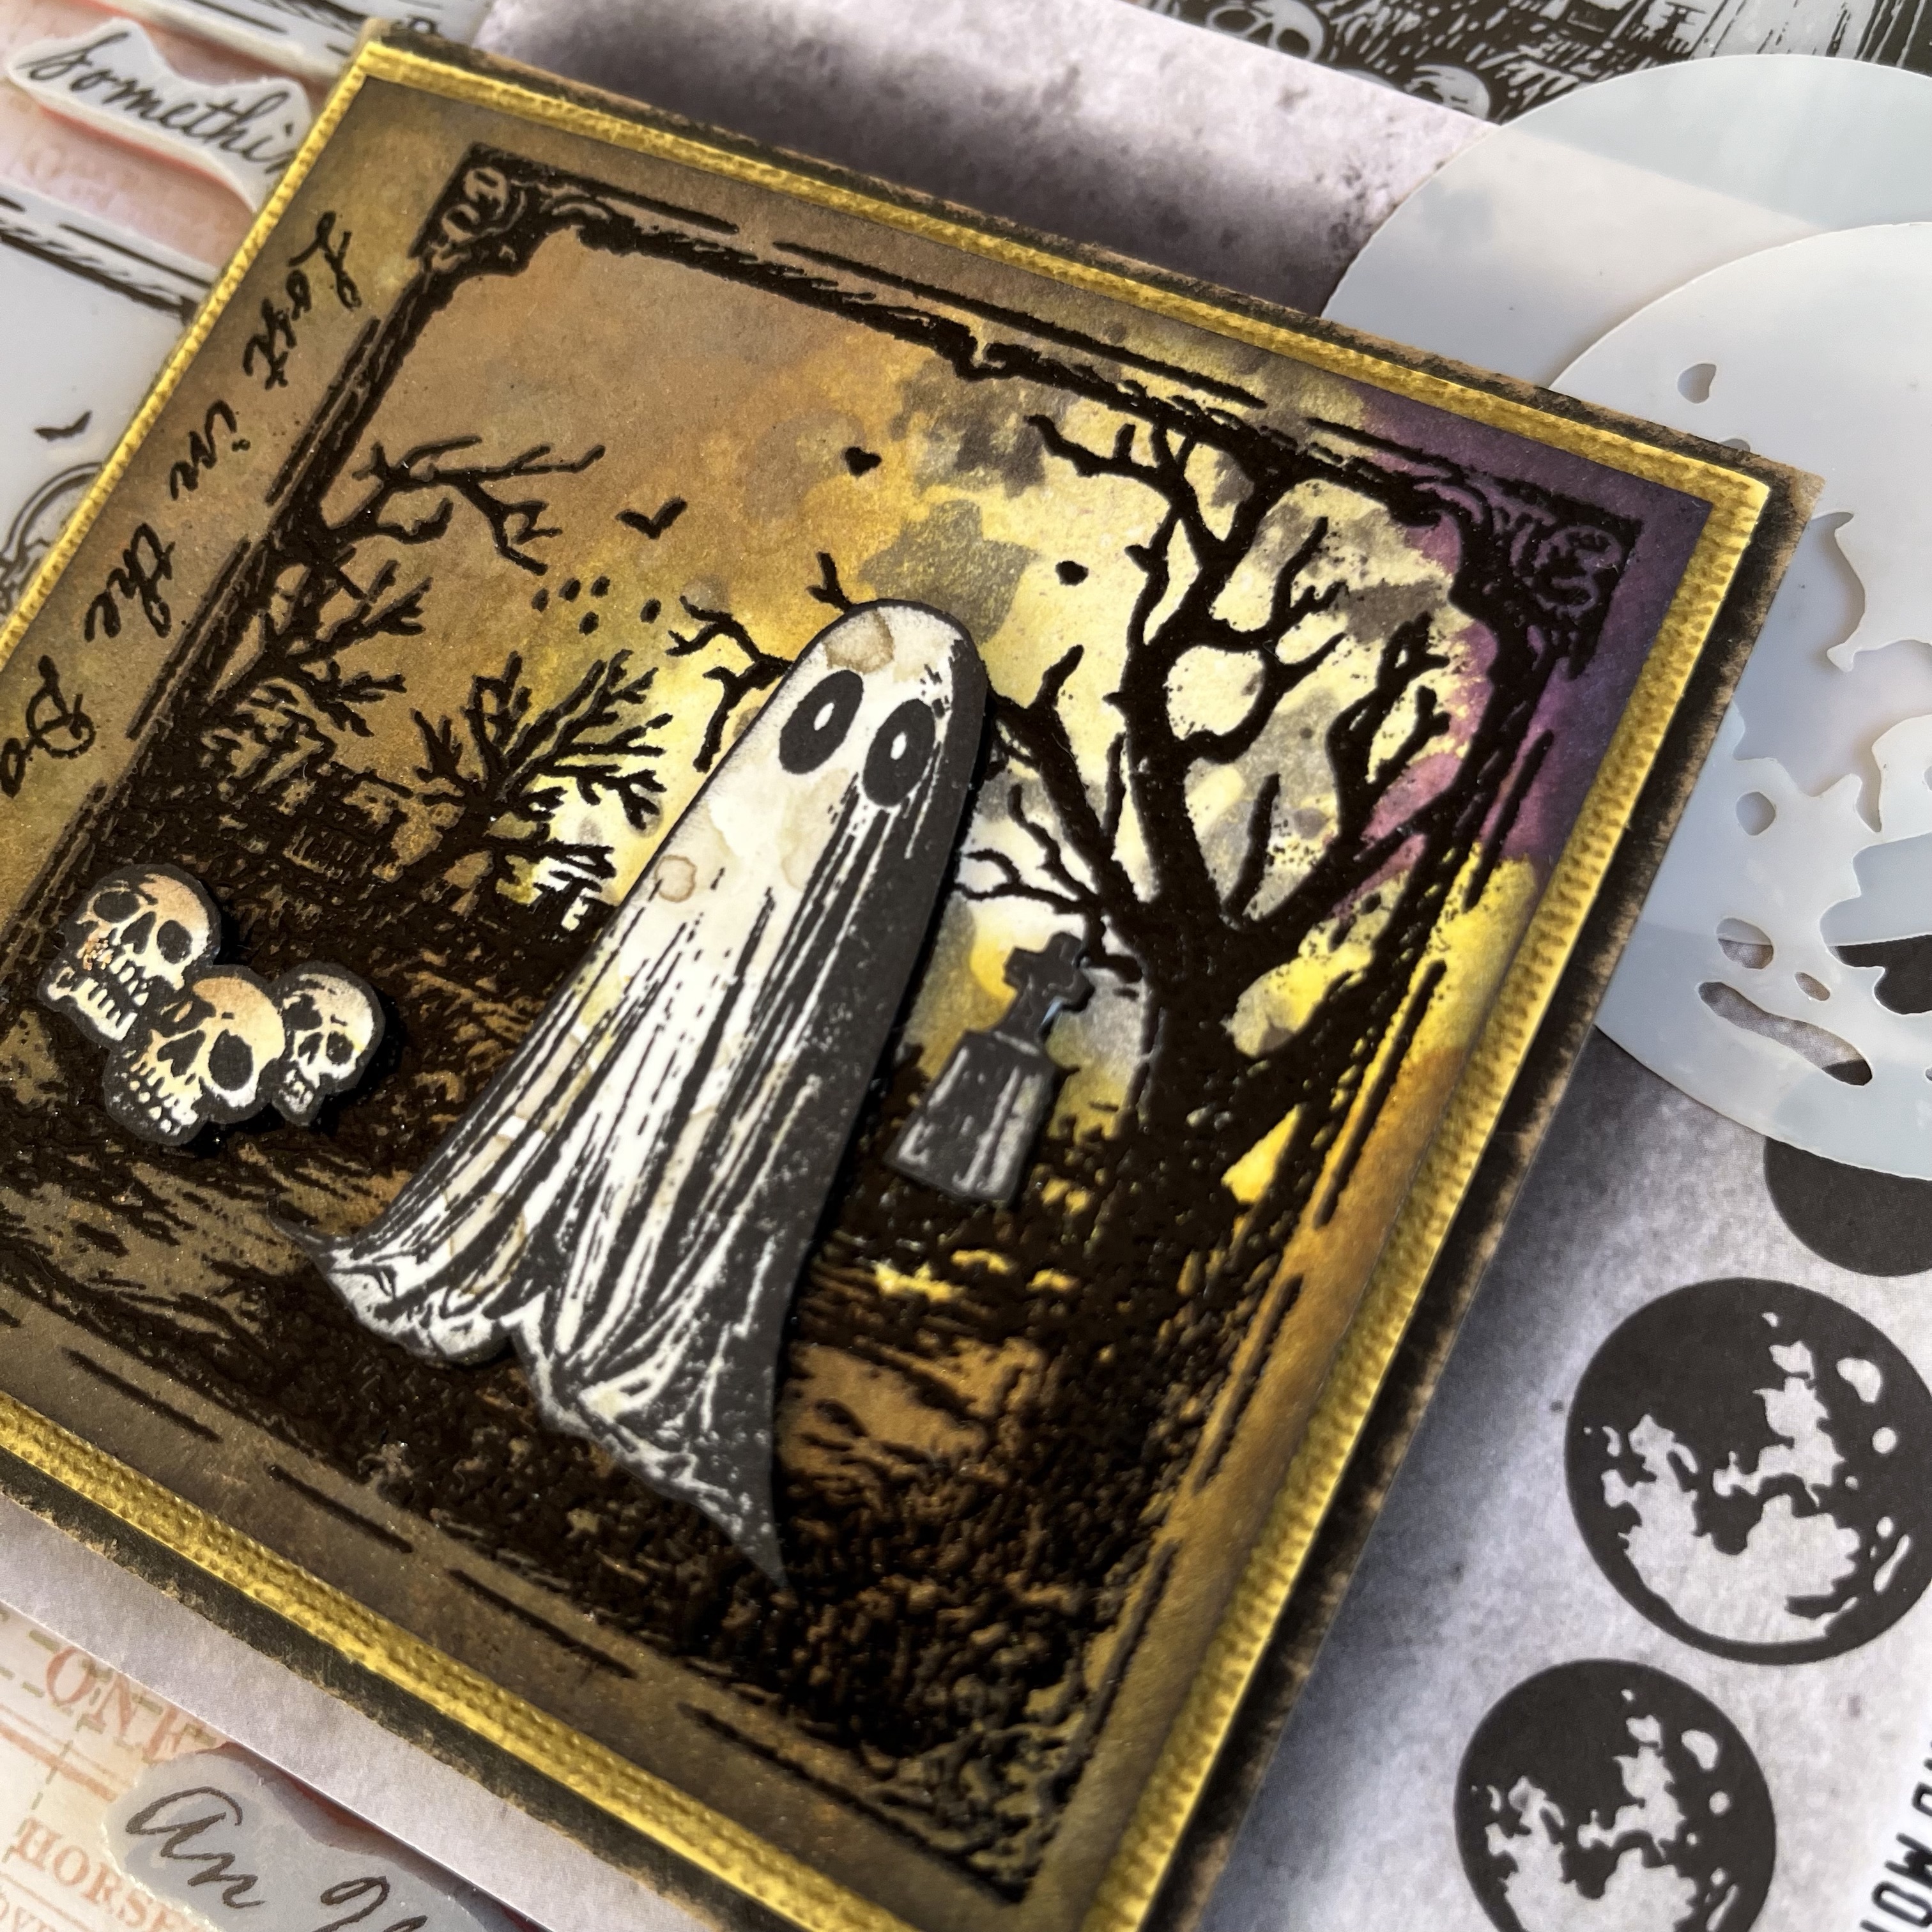
I love the new stamp set Framed frights from Tim Holtz! 

So I used it for this little card. 


I started with the background, a piece of Watercolor cardstock. Then I used the Moon mask from Tim and the Distress Mica stains. It was a bit tricky but I think I managed good enough. Inked the edges with DI Black soot. 


Then I put the stamp in my stamping tool and stamped with Distress embossing ink, then used black embossing powder. Heated with embossing gun. 


Then I stamped the image again, embossed and so on. Then fuzzy cut the ghost, the skulls and that “statue”. I colored them with DI’s and I also put a small amount of Ranger Stickles in Platinum on one of the skulls tooth. It is difficult to see on the photo but it is cool in real life. It is the left skull that have a Platinum tooth. Inked the edges with DI Black soot. 


I used 3 D foam to adhere the fuzzy cut images for dimension. 


I stamped and embossed one of the text’s on the left side of the image.


I cut a piece of Distress cardstock to layer the background on, and sanded the edges. 


As a cardbase I cut a piece of Ideaology Kraftstock and sanded the edges. 

I think it was so much fun to try this image together with the moon mask. (Need to practice more though😊).

Thank you for visiting, 

/Susanne


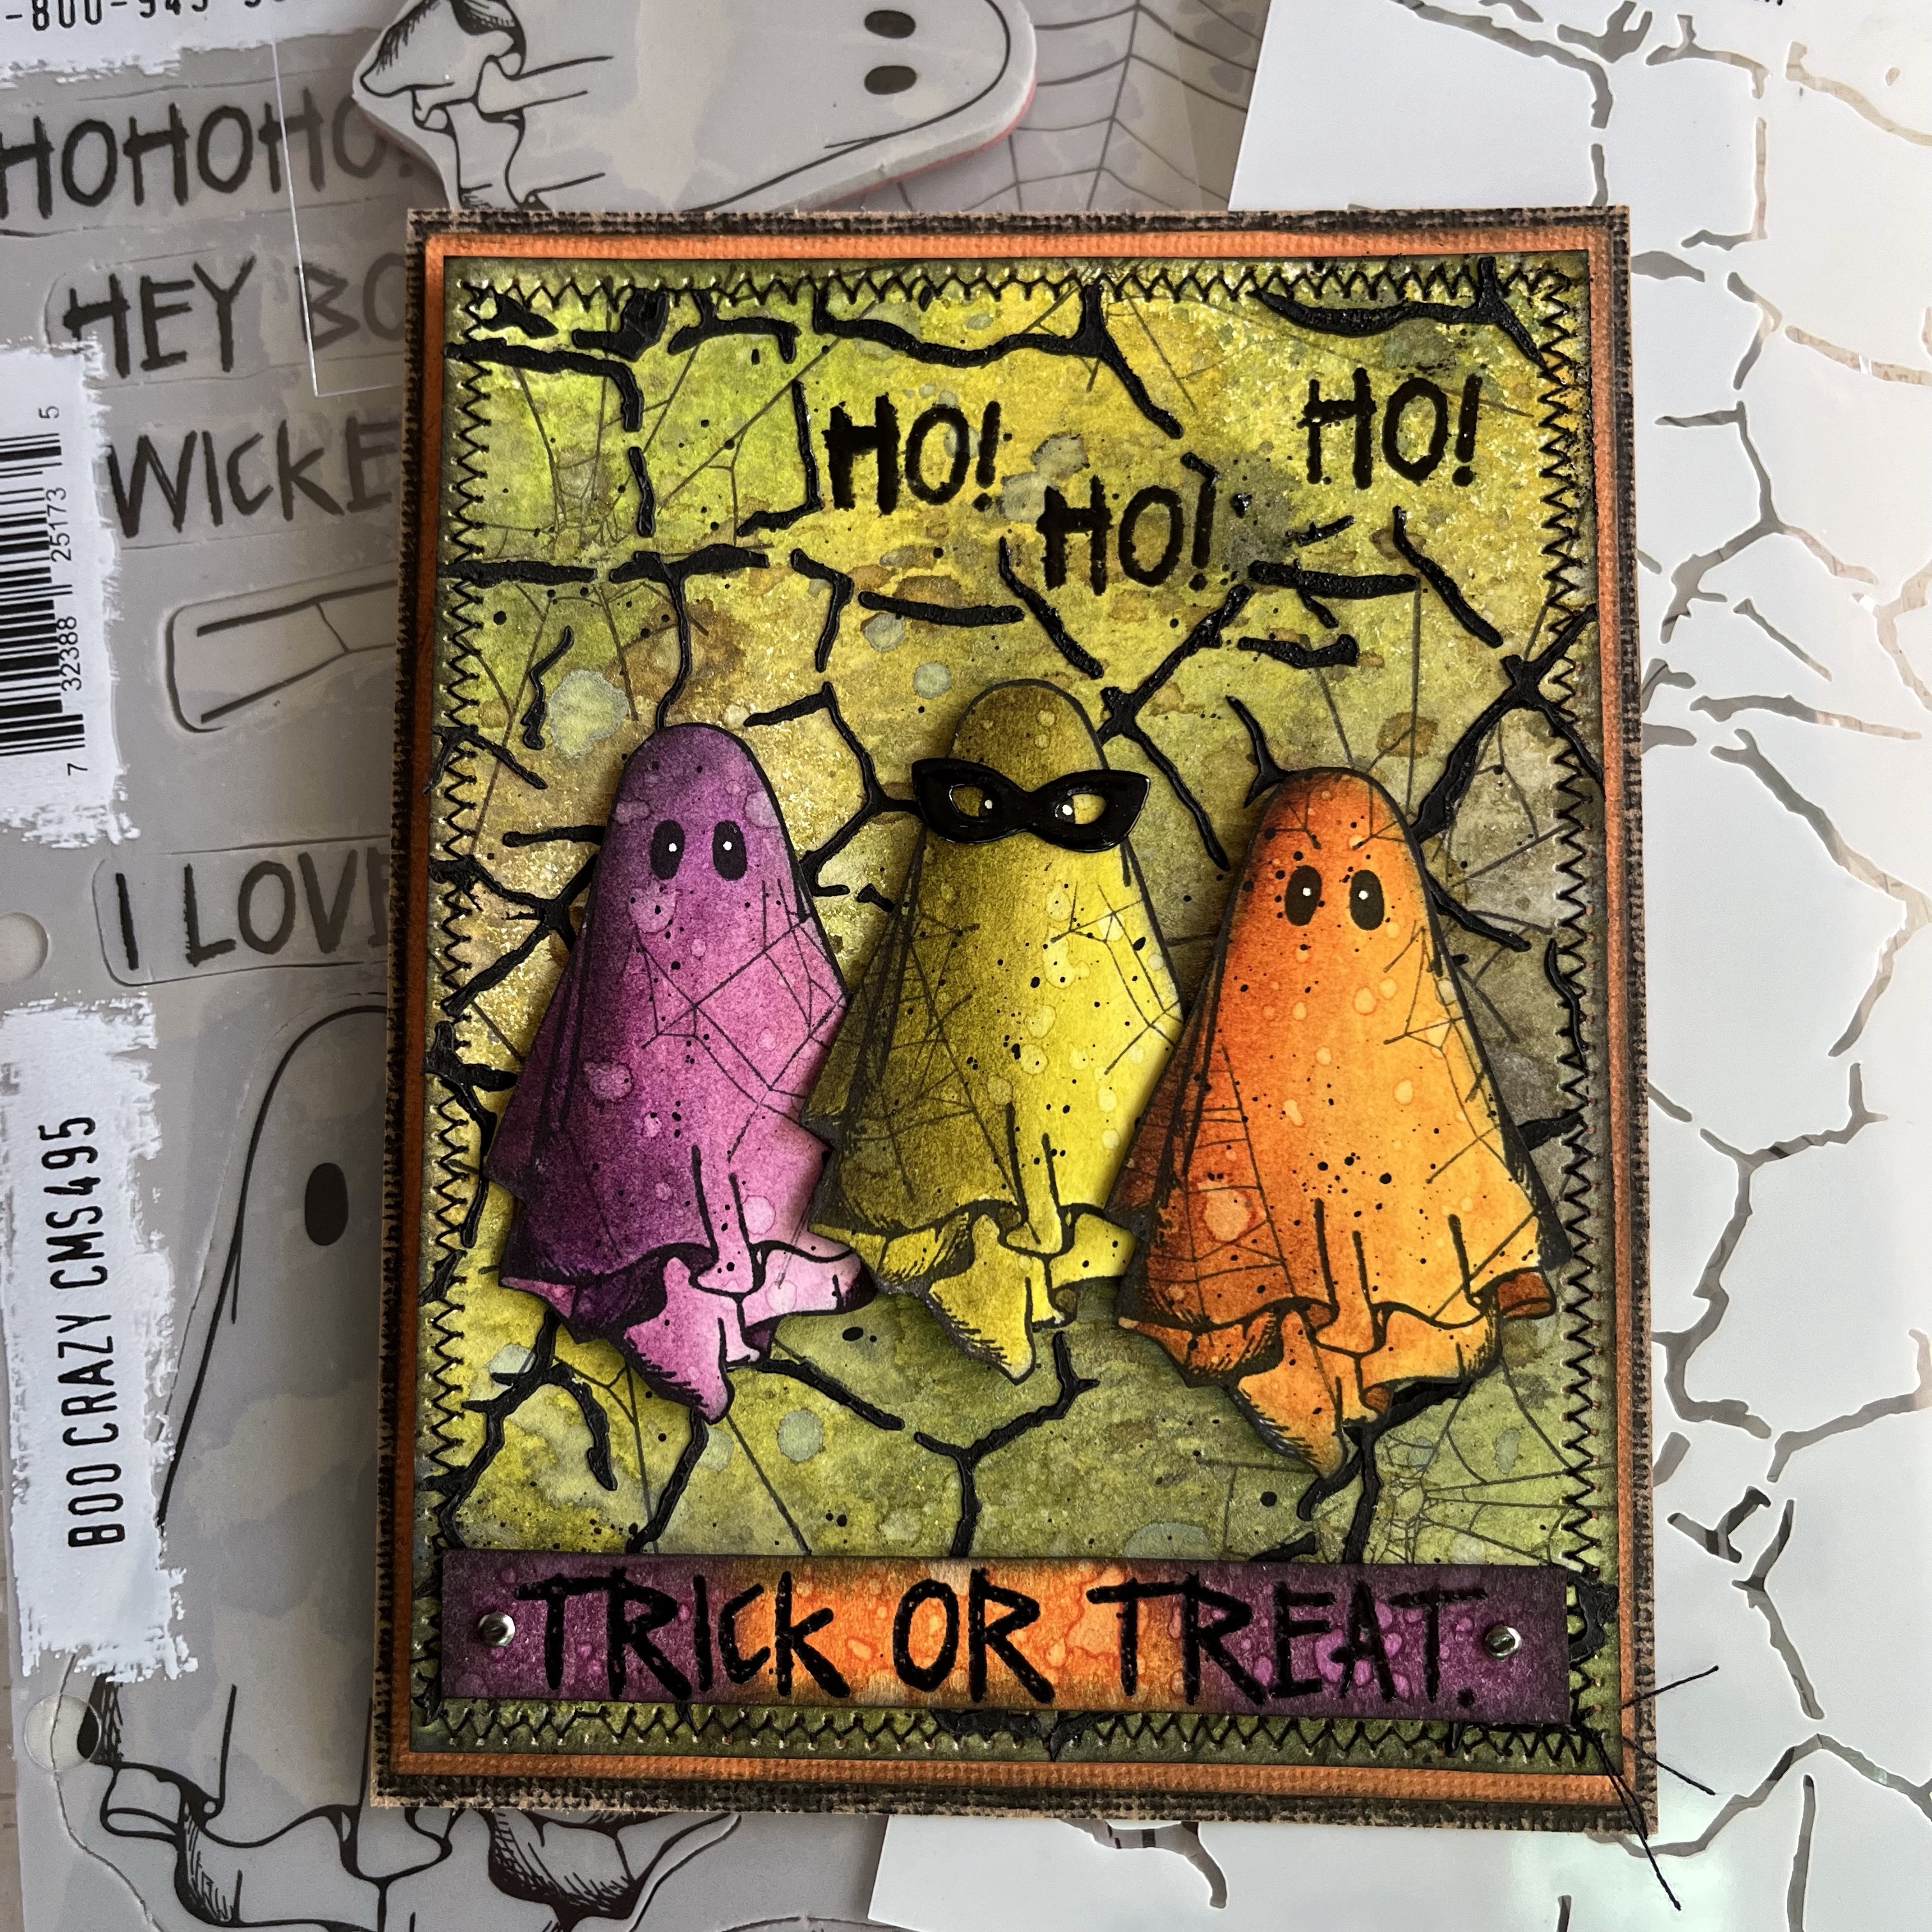
Trick or treat

Hello and welcome, 

Halloween making has started. One of my favorite times of year. 

I love the colors and I also love the creepyness. 

This card is not a creepy card but it was fun to make with the new Boo crazy stamp’s from Tim Holtz.


I started with the background which I made last year. Easy. It is cut from Mixed media heavystock and used with Moon mask from Tim, THMSK01 together with Distress Mica stains. 


I stamped with the batstamp from CMS451 The scarecrow and then used the new bat stencil THS184 Batty with black texture paste in the upper left. 


The clouds in the upper right corner is from the new die set 666684 Vault fright night, cut from Watercolor cardstock and dipped in Pumice stone DI and water on my craftmat. Dried with heat tool. Inked the edges with Black soot DI. 


I stamped the big spiderweb from CMS495 Boo crazy with Black soot Archival ink on the lower part of the background, then I stitched around the edges with my sewing machine. Finally inked the background with DI Black soot. The “Trick or treat” label is cut from Watercolor cardstock, inked the same way as the clouds, stamped with embossing ink and used black embossing powder. Stitched to the background.


The ghosts are stamped on Watercolor paper and colored with Pumice stone DI. I splattered some ink on them too, and stitched a little square with sewing machine on the big ghost as if it has repaired the sheet. 😊. 

I cut a piece of orange Coredinations cardstock, sanded and inked to put behind the background. Then I made a black cardblank which I inked the edges on with Picket fence DI. The ghosts and the other card layers are adhered with 3D foam for dimension. 


I hope to able to make some more Halloween cards during this season. For the moment I have some fever and are quite tired. 

Thank you for visiting, 

/Susanne

mÄndag 2 september 2024

The World of Distress

Hello and welcome, 

Today I want to share a tag to honor my Distress inkpads😍. I love my Distress inkpads, and use them on all my projects. So when Tim launched his Vault World travel die set with Sizzix, I came up with this idea. I think the small globe die is perfect to this project and all the small inked pieces are from the set Vault picture show. So here we go! Let’s celebrate all the colors of Distress. On my make I have used Distress Oxides. The globe is colored with Distress inks.


I will try this tag over at Simon Says stamp Monday challenge - Tag it. 

Hope you enjoy looking at this tag, I love a nice color chart! 

/Susanne

mÄndag 12 augusti 2024

Birthday card

Hello, 

Here is a birthday card I made for a collegue. I have used Tim Holtz products for this card. 

No tutorial for the moment, I’m in a hurry 🙂. 


I will try this card over at Simon Says stamp Monday challenge - Happy Birthday.

Thank you very much for visiting,

/Susanne

mÄndag 5 augusti 2024

Mr Rabbit for my Dear Father

Hello and welcome, 

I have made this card for my dear Father’s birthday. I think Mr Rabbit from Tim Holtz is the perfect stamp for a masculine card. He is adorable. I used Tim Holtz products for this card. 


I started with the background, a piece of Kraftstock, stamped the plaid image from CMS478 Mr Rabbit with Ground espresso Archival ink. Then I ripped a piece of Collage paper - Palette and adhered to the background with Collage Medium matte. Then I used my sewing machine and stitched the edges. 


Then I started to make the stars, cut them out from Mixed media heavy with Sizzix 666567 Vault rosettes die. Inked them with Scorched timber Distress ink. 


I cut a piece of denim from a pair of old jeans, and again ripped a piece of Collage paper - Palette, adhered to the denim with Collage medium. I ripped som threads from the edges of the denim as well and stitched a zigzag seam to the left of the denim piece. I used some glue, long fasteners and my tiny attacher to adhere the fabric to the background. 


I used a small piece from a Ideaology Stencil card in the right corner. I inked it a little with Scorched timber and inked the edges with Uncharted mariner DI. I also inked the edges on some Ephemera pack snippets - Number strip. 


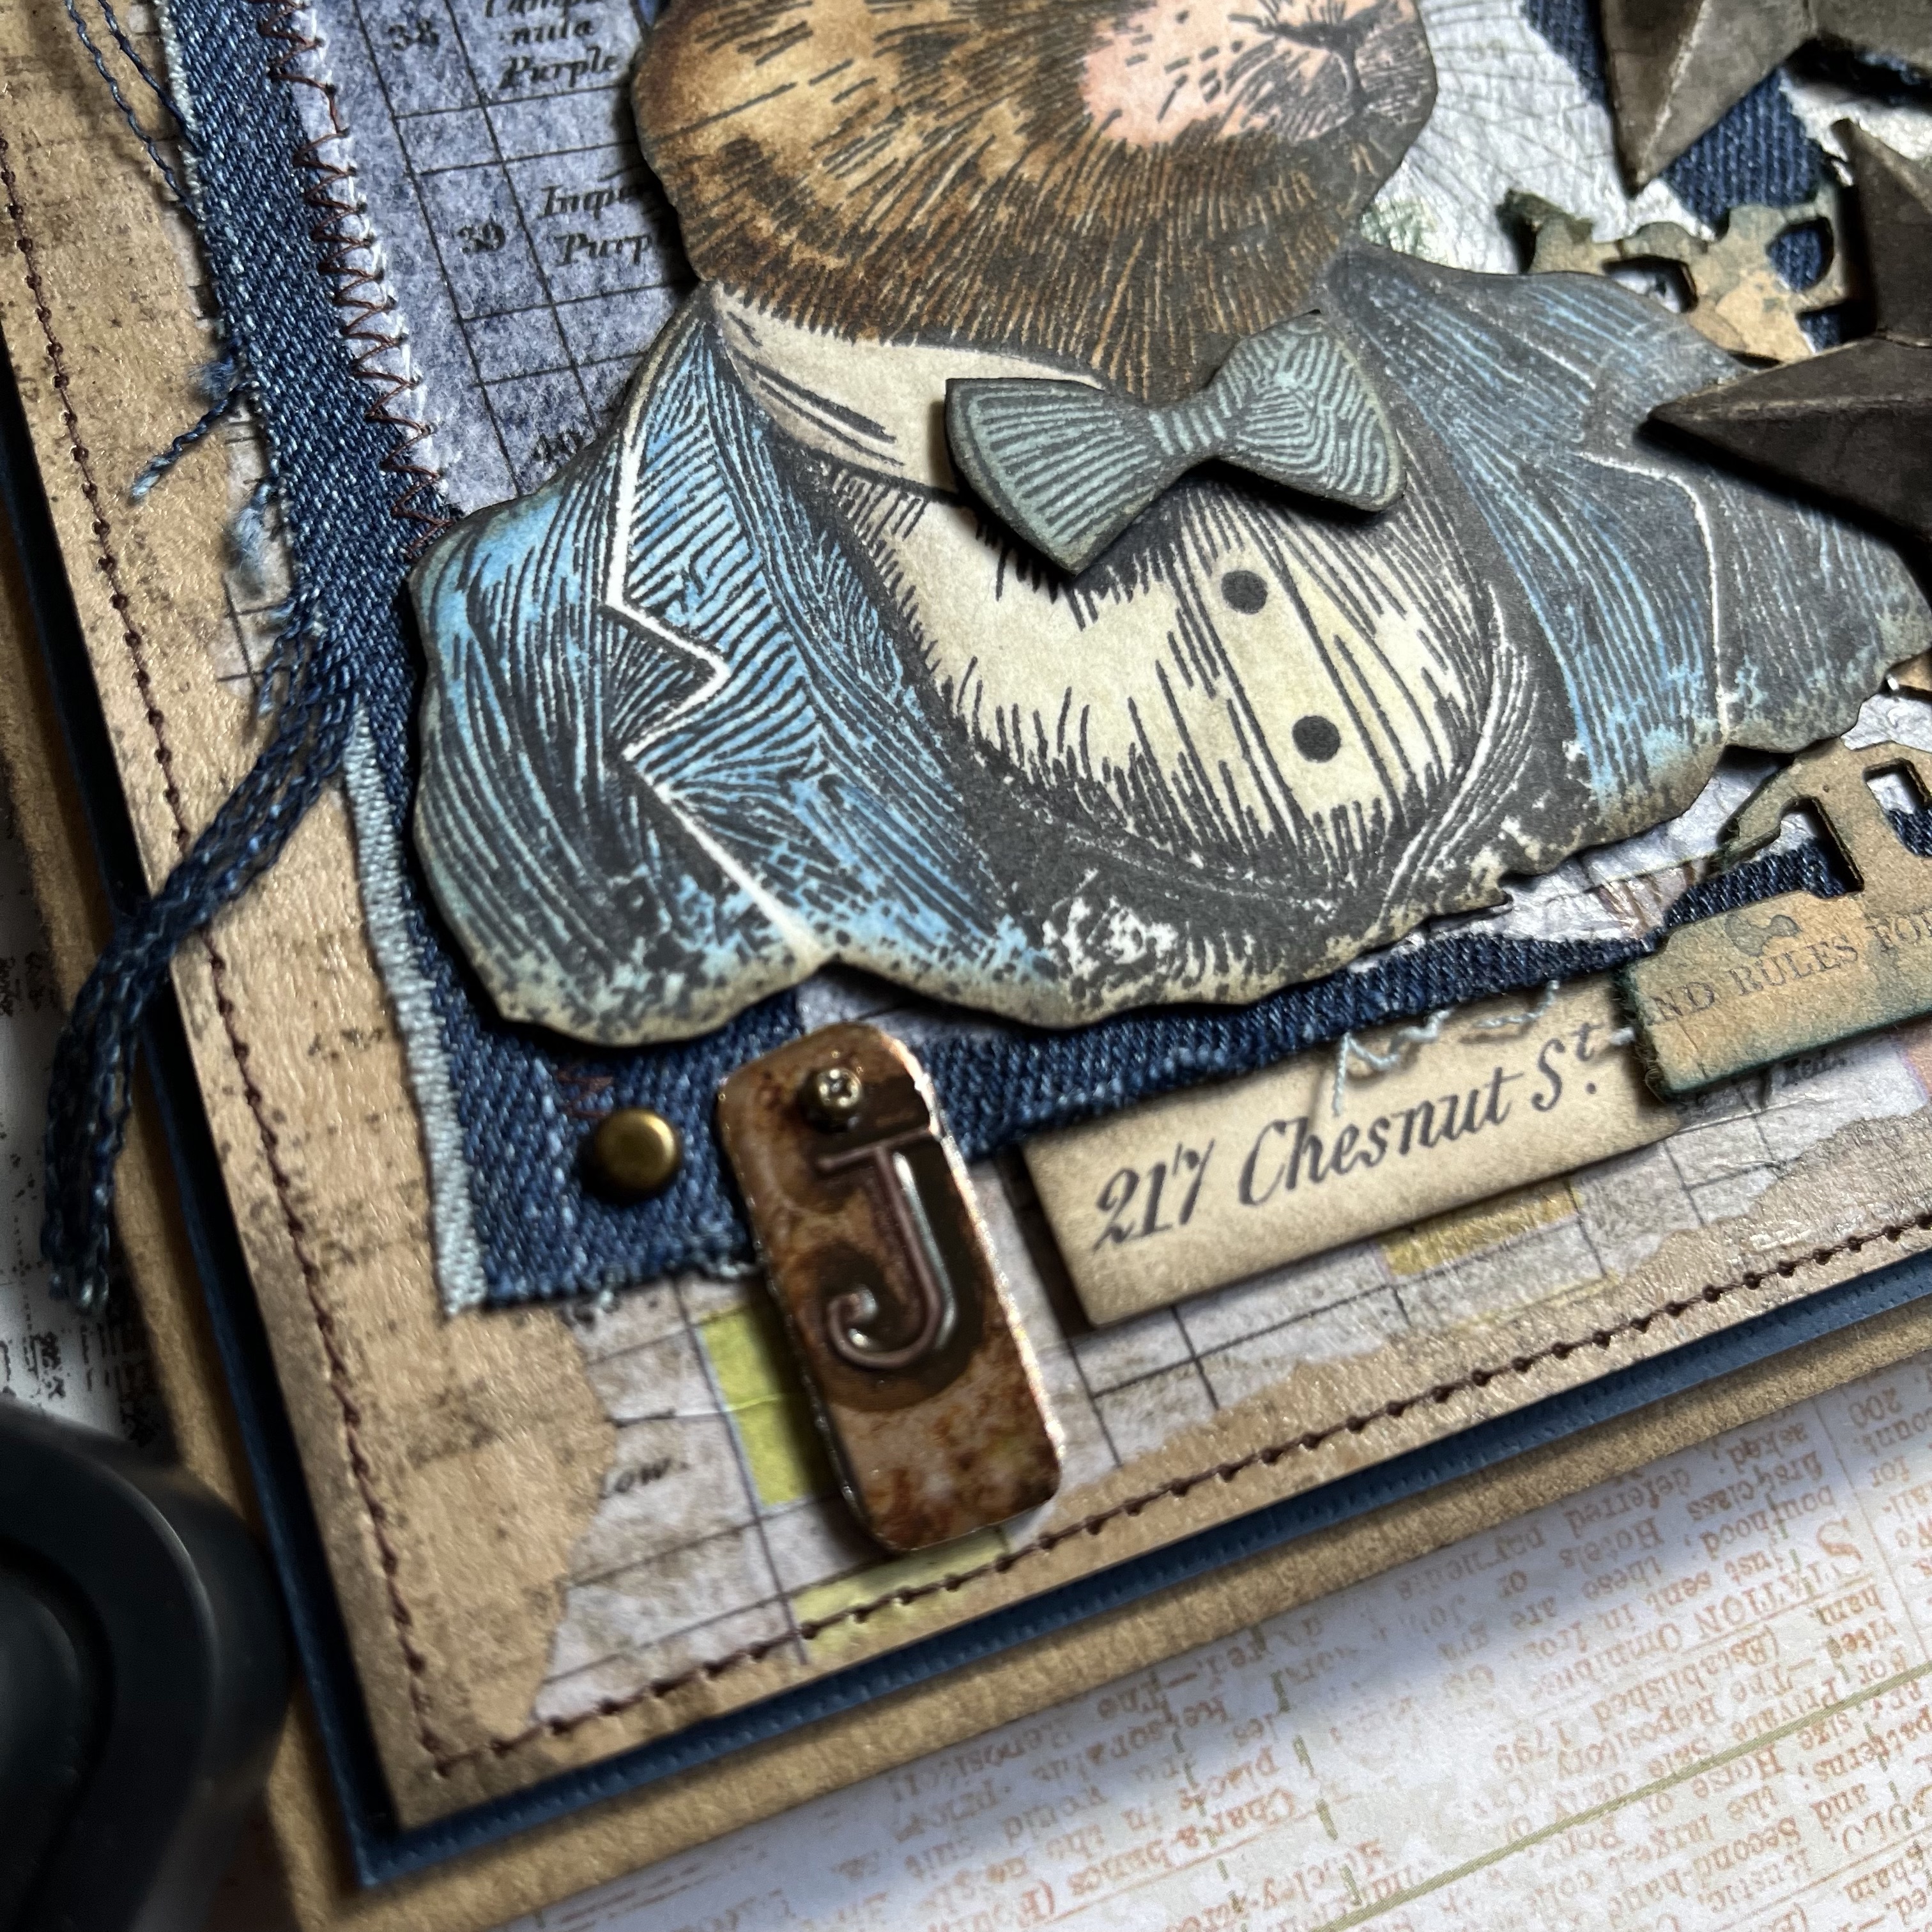
I stamped Mr Rabbit on Watercolor paper with Black soot Archival ink and colored him with Distress inks. Fuzzy cut and then inked the edges with Scorched timber DI. Adhered him to the card with 3D foam for dimension. I stamped his bow tie twice and cut it out, colored and adhered with 3D foam. I used Glossy accent in his eye. 


I cut a Star border with Sizzix 3D Impresslits Star border trim from Mixed media heavystock, inked with Scorched timber and Uncharted mariner. Adhered to the card with 3D foam and two Mini fasteners. 


I used a Type clip with the letter “J”, and fastened it with a Mini fastener. My Father’s name starts with the letter J. 

Here you can also see one of the small Ephemera pieces mentioned above. 


I cut a piece of dark blue cardstock to use behind the background as a mat, then I made a card blank from Kraftstock. I inked the edges on the Kraftstock with Scorched timber DI. 

I will try this card over at Simon Says Stamp - 4 Legged friends.

Thank you very much for visiting my blog, 

/Susanne