Blogg

Blogg

söndag 30 juni 2019

Happy 4:th of July

Hello and welcome,

Today I will share a card with 4:th of July theme. I have used lot´s of Tim Holtz products to made this card. I wanted it to have a "vintage look".

Here in Sweden we celebrate our "National day" the 6:th of June, and it´s not with very big celebrations. It has been a bank holiday for 14 years now.

Now to the card,


I started with a piece of designpaper from the "Correspondence" pad, and then I took my Distress ink in Walnut stain and inked the craftmat and spritzed with water and "smooshed" the designpaper piece in that to get a Distressed look. Then I spritzed with water and after that I distressed the edges with Distress ink in Walnut stain. Then I did the same with the tag that I diecut from a Tim Holtz Bigz die, and then I used THS003 stencil and Candied apple Distress Oxide on the tag. Then spritzed a little with water again. Distress ink in Walnut Stain around the edges. I dripped some Distress resist spray on the background and then put Ranger embossing powder on it, then used my heatgun to melt the powder.

The paperdoll is colored with Candeid apple, Chipped sapphire (for the flag) and Wethered wood (for the dress), (a pink for her face and red on her cheeks), Distress crayons.


I stamped a piece of desginpaper treated the same way as above with the USA stamp from CMS146, Mini blueprints 2, with Distress embossing ink and used the same embossing powder as above. then heatset. I used my sewing machine to zigzag the "USA piece" to the tag.

I cut out a "letter" from the same designpaper pad and distressed the edges with Walnut stain. I stamped the letter with a number stamp from CMS225 Correspondence. And adhered it in the down right corner on the tag.

I mounted the pieces together with 3D adhesive between to get some dimension, and also mounted them all first on a red piece and then on a blue piece of sanded Kraft Cardstock with 3D adhesive.

I used a ribbon for the bow which I colored with Candied apple and Chipped sapphire Distress markers and then spritzed with water, dried and then distressed it with Walnut stain ink.


I diecut (using Movers & shapers Mini old glory set) 3 blue stars from Kraft cardstock and sanded, then mounted some small talk occations stickers on with Ideaology mini fasteners. I Distressed the edges with Walnut stain ink, and on the "red, white & blue" sticker I also inked the sticker with red and blue Distress Oxide.

I sanded a Ideaology "Milk bottle cap" and inked it with Walnut stain distress ink.

The "4:th" label is a  Ideaology "Enameled tag", which i have covered in a piece of tissuepaper with Distress collage medium vintage. Before i "glued" the paper to the label I stamped the number 4 from CMS331 Merchant, and "th" masked off from the "enjoy the journey" stamp from CMS090 Going somewhere. For the "dots" between I used a black pen. I distressed the label further with a Distress crayon in Walnut stain. I used a long fastener to attach the label to the card.

I diecut the text "OF JULY" using the Alphanumeric label thinlit die, from sanded red Kraft Cardstock.

I will try this card in Simonsaysstampblog Mondaychallenge -Stars and Stripes.

Thank you for visiting,

/Susanne

lördag 22 juni 2019

Cat card

Hello and welcome!

Today I will show a card I made for my sister in law on her birthday this spring.
My brother and she adopted a beautiful cat named Alfred earlier this year, so I thought a cat card would be suitable 🙂

I have used products from Tim Holtz when making this card.
I used the cat from his stamp set Hipster CMS 288.

I started with the background cut from Distress mixed media heavy stock, using crackle paste through one of Tim’s stencils on the right side of the card. Then I sprayed Distress Oxide spray in Peeled paint. On the right side of the card I used the same stencil with Walnut stain Distress Oxide, and then moved the stencil just a little bit and get over that with Picket fence Distress ink, to get that shadow effect. Spritz the hole background with some water. Then I used Distress Oxide in Vintage photo over the crackled areas and around the edges of the card. 

I then splattered some Distress resist spray on the background. I colored the cat with Distress ink’s. The glasses are cut out and mounted on 3D adhesive, and I used some overhead plastic for the glass in the glasses frame. I cut a frame for the cat in Woodgrain Cardstock from the rectangle stitched die, and used Ground espresso Distress ink pad directly on the frame. Then spritzed with a little bit of water. The tie is cut twice and the second is mounted on 3D adhesive for dimension.

The paper clip is cut from a Tim Holtz movers & shapers die “Miniclipbord top” 658560, and colored with Walnut stain and Cracked pistachio Distress Oxide sprays. I put a Ideaology Swivel clasp in the paper clip to hold the Faceted heart.  

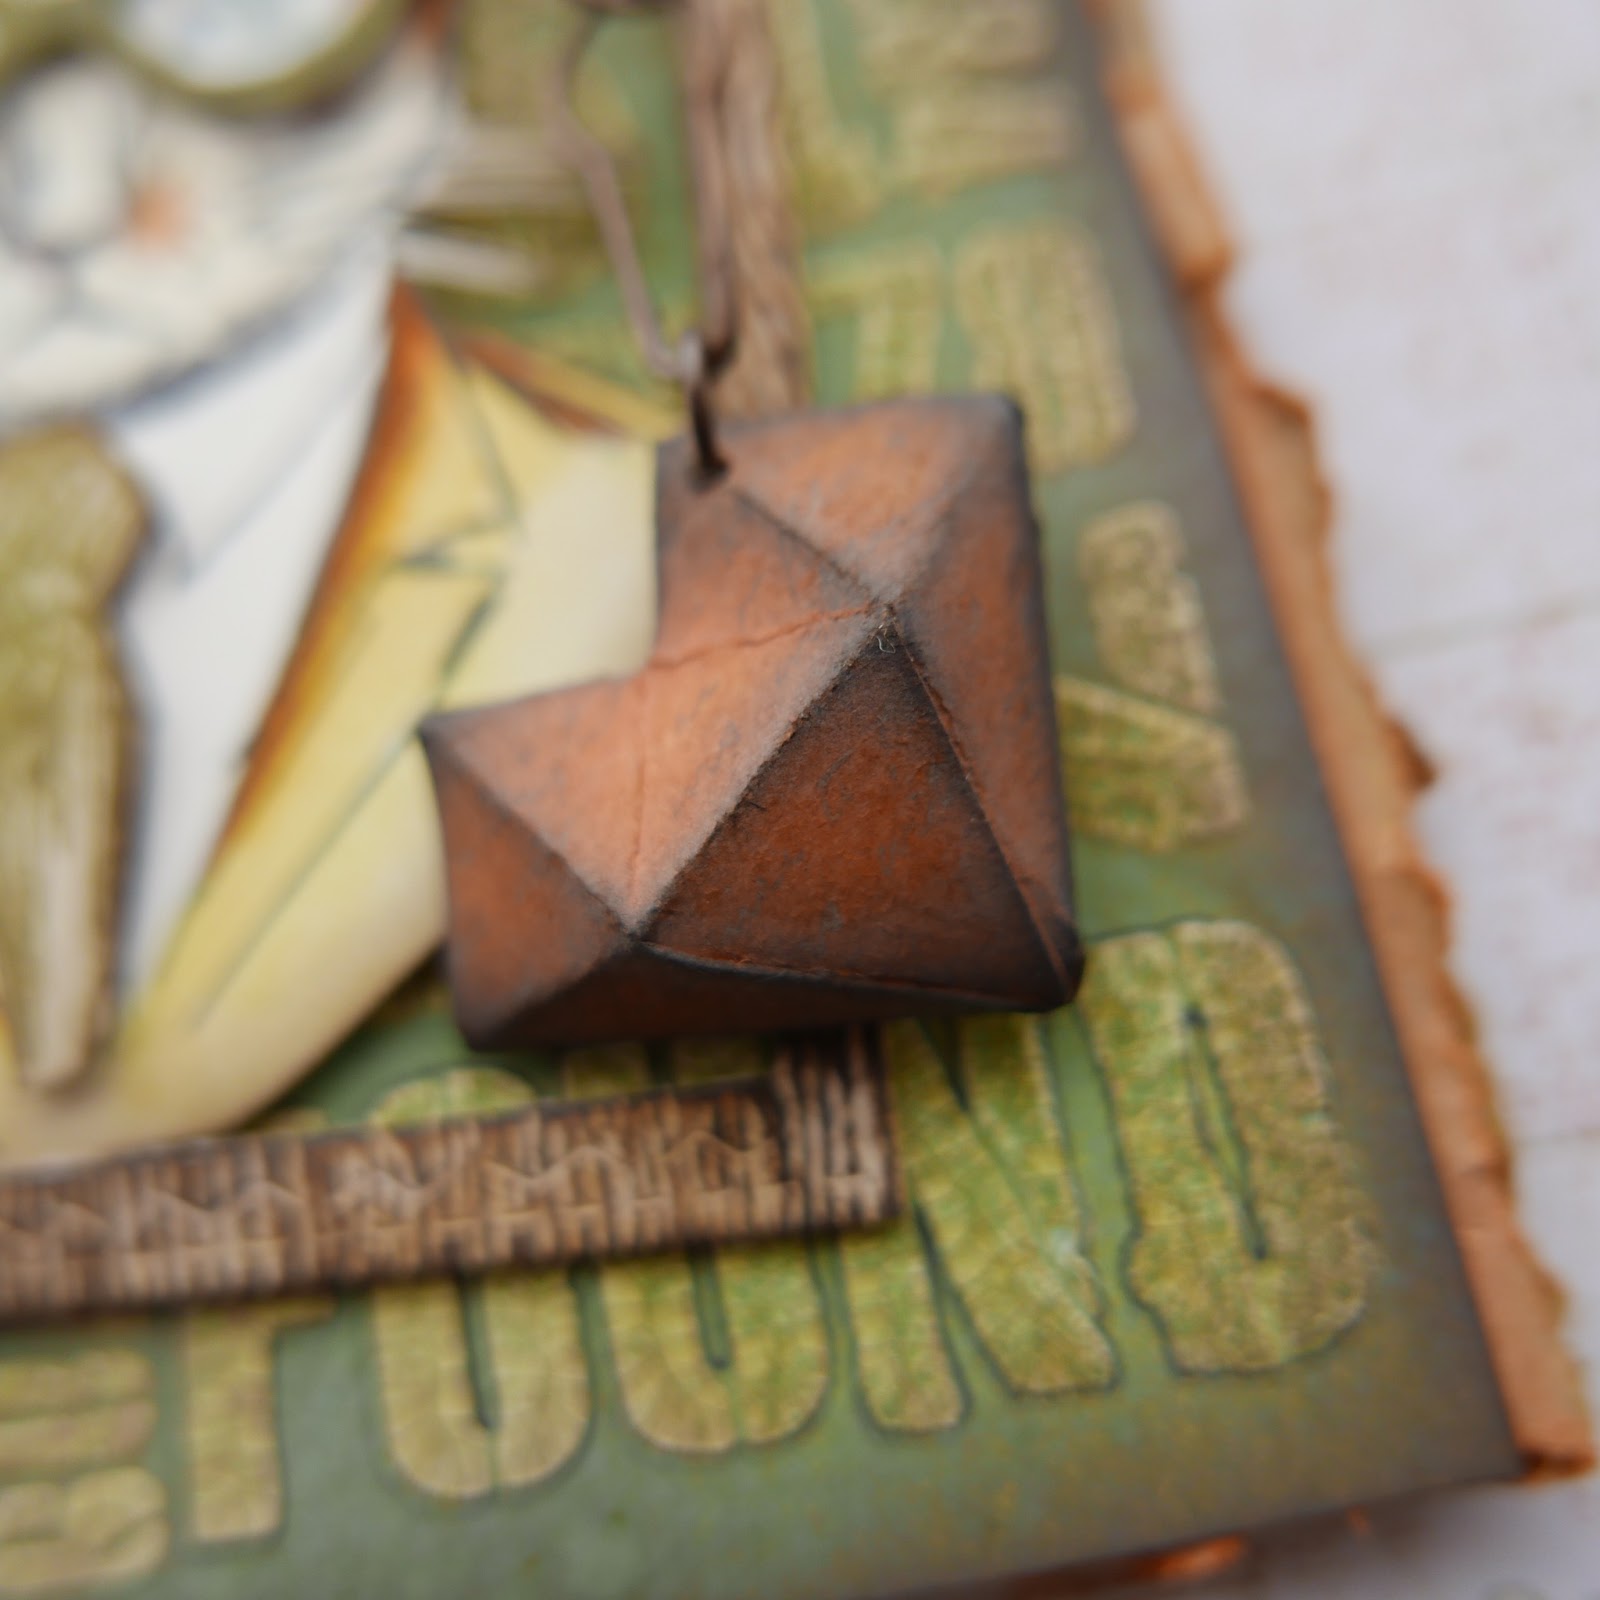
The Faceted heart is cut from Distress mixed media heavy stock and colored with Distress Oxide in Rusty hinge. Then I used Walnut stain Distress ink to Distress the edges of the heart. I also spritzed the heart with water.

I cut the letter “A” for Alfred, with the new Alphanumeric label die set, inked with Distress Oxide and glued it at the backside of the heart. I draw a frame around the heart with a black thin pen. 

I painted some Ideology Numeric with acrylic paint in some "rusty tones". "24" stands for how many toes Alfred have.

I mounted the background on some Cardboard which I sprayed with Spiced marmalade Distress Oxide ink, and inked with Rusty hinge Distress Oxide.

Just to let you know a little bit more about Alfred;
Alfred is a "skipper cat", I´m not sure if that´s the breed name in English ;)
Alfred is a beautiful cat, and he has now came to a calm and harmonic home where he get´s  lot of love, play and care from his new family and from us as well. 

Thank you so much for visiting, 

/Susanne


torsdag 13 juni 2019

Heart wish card

Hello and welcome! 

Today I will share a card which I have made for a person who inspires me a lot😉. 
I have used Tim Holtz products. 

I started with the background where I used the 3D embossingfolder Foundry with metallic Kraft cardstock in silver. After the embossing I sanded the paper, then I used black Acrylic paint, which I let dry a while, then wiped away some of the paint with a semidry baby wipe. Then I applied Grit paste on random areas. Let dry. Then I used Distress crayons on the Grit paste in Rusty hinge, Walnut stain and Peacock feathers. 

I then diecut the Sizzix Globe die from Kraft Cardstock and sanded for a distressed look. 

I diecut chipboard and metallic/Kraft Cardstock with Sizzix Voltage die, and glued the metallic/Kraft Cardstock to the chipboard. I sanded all the pieces. 
I diecut the Sizzix Faceted heart die from Mixed media heavy stock and used Distress inks and Oxides in different red inks. Then I used Walnut stain Distress ink on the edges. I also splattered
some black acrylic paint on the heart. And adhered two mini fasteners on the heart. 
I mounted the card on red sanded Kraft Cardstock, then on a black card blank, with 3D adhesive between, to get some more dimensions. 
I finished the card off with a Ideaology sticker "Small talk" and a paperdoll which I colored with Distress inks.
I marked out the destination from me to the receiver of the card with some silk thread and two mini fasteners.

Thanks for visiting!

/Susanne


söndag 12 maj 2019

"Award" Tag

Hello and welcome,

Today I will show an Etcetera tag size small. When I started with this "project" my intention was to make a card, I wanted to use Tim Hotz new die, Steampunk parts. But after a while I changed my mind and thought I would try to make an Etcetera tag instead. And off I went.

I have used Tim Holtz products for the tag and I started with the "card background". A piece of Distress mixed media heavystock, and some Distress Oxide in Ground Espresso, then I lightly sprayed the background with Distress Oxide spray in Cracked Pistachio. Then I stamped it with the Proffessor stamp (CMS373) with water , to get a "ghost-effect", but it is almost not visible. Then I used one of Tim´s older embossingfolders to get the "lined" effect. I used my sewing machine around the edges. I cut all the Steampunk pieces from chipboard and one from red Kraftstock and stamped the "round" stamp with black Archival ink. The middle "ring" is cut from bluegreen Kraft
stock. The rest of the pieces are cut from Metallic craft stock, sanded and distressed with Walnut stain Distress ink. All the Kraft pieces are mounted on the chipboard for dimension. Under the Steampunk decoration I used some Ideaology ruler ribbon, which I also have distressed with Walnut stain Distress ink.

I layered the card on another card made of Metallic Kraftstock in gold, which I sanded and Distressed with Distress ink in Walnut stain.
I diecut the"invention" text from the same cardstock with the Tim Holtz, Sizzix die Alphanumeric 664177. Mounted the text on black sanded Kraftstock and again on a sanded gold metallic Kraft stock.

The Etcetera tag is covered with some Tim Holtz Dapper design paper, which I glued to the tag with Distress collage medium. I also put Collage medium above the designpaper to get a nice surface for the Distress crayon (in Gathered twigs,) I used to "grunge" the background with. On the edges I used some crackle paste, and Distress crayon above. I flicked some brown acrylic paint on the finished background with the splat brush.
The "Award" word is die cut with Tim Holtz Deco die, 661815, cut both from chipboard and then red Kraft cardstock and layered. I sanded the surface and distressed the edges with Walnut stain Distress ink.

The hole reinforcer is first covered with Metallic Kraftstock which also is sanded and distressed with Walnut stain Distress ink, then above that I used one of the new Ideaology, Date dials. 
To the right of the reinforcer I used a Ideaology Story stick, which is tinted with Mushroom Alcolholink and the Festive berries Distress crayon. I fastened it with an Ideaology Hardware nail. 
I used a piece of hampstring in the reinforcer.
I decorated the tag with Ideaology Adornment stars which I painted first with red acrylic paint then with brown paint.
On the left side under the "card" I used one Ideaology Layers Collector. Also a piece of designpaper Dapper, which I stamped the word "Inventor" from stamp CMS347 Inventor 4, and some Label letters. The inventor of the propeller is a man born in Sweden named John Ericsson. (It´s  a bit fun that he is from Sweden, because I´m also a Swede. ;). He later moved to America.
"1836" is also cut both from chipboard and Metallic Kraftstock. With the same treatment as all other Metallic Kraftstock pieces.
The decoration at the bottom of the tag is "Mummy cloth" that are colored with Distress ink in Gathered twigs and Ground Espresso. Above that a piece of Dapper designpaper, I wanted the signature, as if someone have signed the Award. Above that I used a Ideology wordband, colored with Alcohol ink in Mushroom and then Distress crayon in Festive berries. The wordband is fastened with two pieces of hempstring.
Finally for the right side of the "card" I used a stamp from CMS225 Correspondence, stamped with Archival ink in Cobalt, Walnut stain Distress ink round the edges. The number is stamped with Distress ink in Fired brick. 

Oh what a long post, and if you have followed me so far, thank you. 

I will try this tag in the following challenge:

Simonsaysstampblog Mondaychallenge, Add something Metallic

Thank you very much for visiting.

/Susanne


lördag 20 april 2019

Explore


Hello and Happy Easter!

Today we have enjoyed a beautiful sunny day here in Sweden.
I wan´t to share a card with some of my new Tim Holtz products!(and some old)


The background is made from Watercolor cardstock. I used Grit paste and stencil THMS 056, in the upper left corner and lower right corner. Let the paste dry. Then spray the background with Distress Oxide spray´s in Peeled paint and Faded jeans. When dried, I used the same stencil and sprayed water on it, then pressed to the background to get some "ghost" effect. Distress ink in Walnut stain around the edges.

I stamped The professor from set CMS373 on watercolor paper with Jet black Archival ink, then colored him with Distress reinkers and Distress ink´s.

I did the same with the lightbulbs, and when dry, used some glaze on the bulbs. (This bulb is fastened to the card with a long fastener and some steel wire from stash.) 
I diecut the globe, Destination Thinlits  die 664179, from Metallic gold Kraft cardstock and sanded. 
Then I diecut the Steampunk parts from chipboard and Metallic Gold Kraft cardstock, from Tim´s Sizzix Bigz die 664185, Steampunk parts.

I glued the Metallic Kraft cardstock pieces to the chipboard, for dimension and sanded the surface to get an aged look. I then Distressed the parts with Distress ink in Walnut stain, to get that old "brass"look. I used some of the other stamps from the same set and stamped them on the background with Cobalt Archival ink. (for example the numbers in the circle.)

Here you can see the "zigzag" stamp on the background as well.

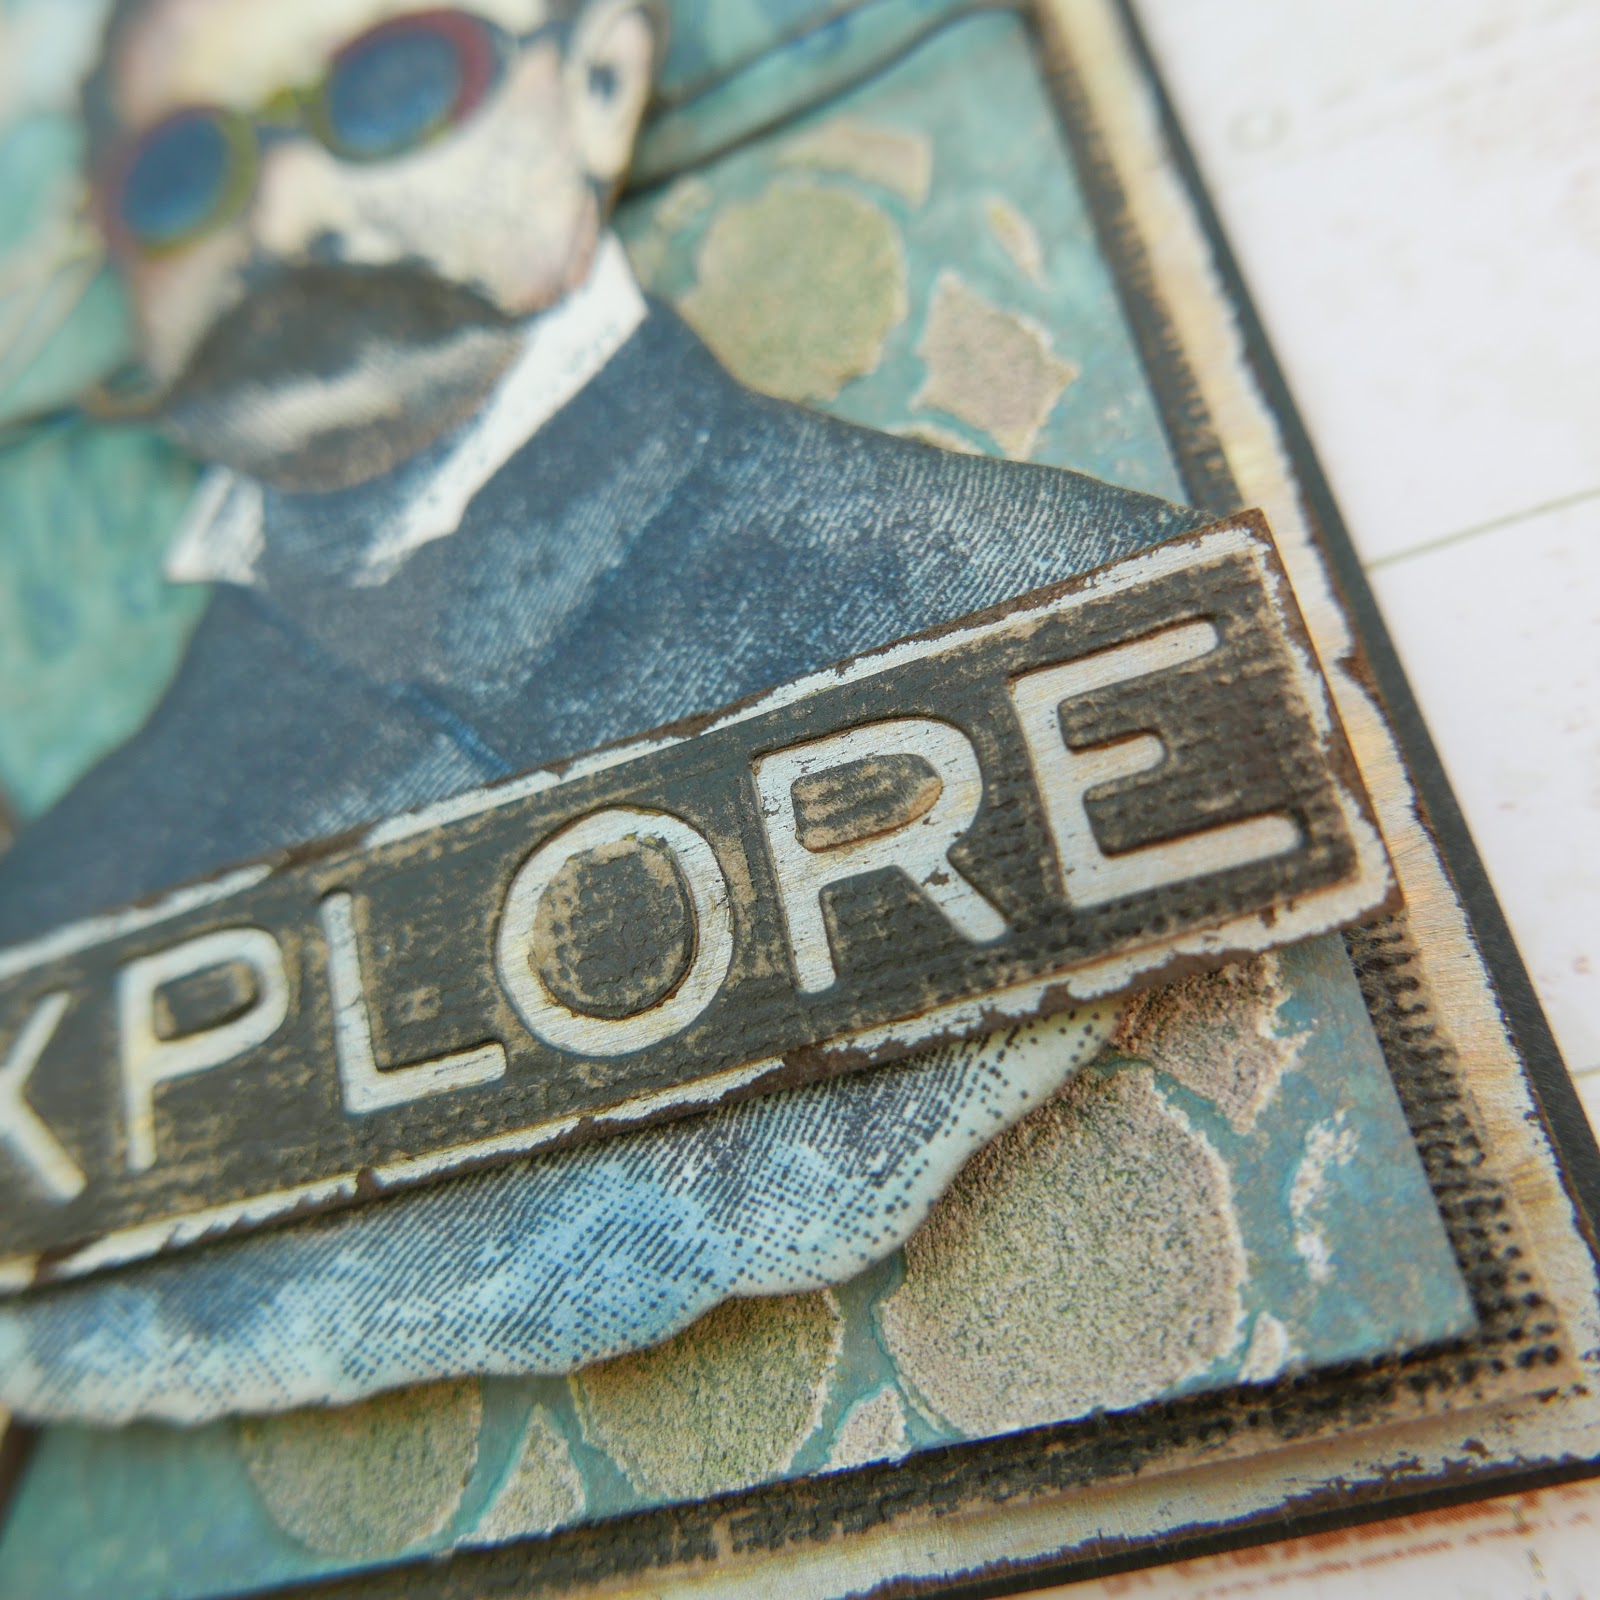
I diecut the "Explore" word (Thinlits 661803 Traveler words) from Black Kraft cardstock and sanded. I mounted on a panel cut from Metallic Gold Kraft cardstock, which also is sanded and Distressed with Walnut stain Distress ink.

I used some steel wire from stash around the first panel.

I mounted the whole cardpanel on Black sanded Kraft cardstock and then on a sanded Metallic Gold Kraft cardstock with Walnut stain Distressed edges. Then finally on a black cardblank. I used 3D adhesive between all layers for dimension.

I will try this card in the TIMI Challenge on the Craftstamper blog.

Thank you very much for visiting!

Happy Easter!

/Susanne


lördag 13 april 2019

Route 66

Hello and welcome,

Today I want to share a card I made with Tim Holtz products and with a metallic look.
I started with my backgrounds, using Metallic craft cardstock, and on the main background I used the Foundry embossingfolder, and then diecut with my new Sizzix TH die Splash. And for the background behind the diecut hole I used an older TH embossingfolder. I sanded both backgrounds and on the one which was embossed with the older embossingfolder I used some black Distress crayon, to achieve the look I was after. On the "Foundry" background I sanded, and added some black acrylic paint, then let that dry a while and then wiped it off. I let the color remain in some areas then added som color from Rusty Hinge and Peacock feathers Distress crayons.
For the embellishments I used the new Voltage die, which I like a lot! It is so cool! I cut it out from chipboard then from Kraft cardstock/Metallic craft cardstock. I glued all the papercuts to the chipboard. That gives a sturdy feel and 3D effect. I sanded all the pieces and used Black soot Distress ink on all the edges and on the metallic pieces I used some Rusty hinge Distress crayon to get some rusty details on the bolts and the metallic plate. 
When I made this card I hadn´t received my Professor stamp set so I had to come up with another idea to get the scale on the Voltage die, so I used a piece from a stamp in set CMS128 Road trip. 
I embossed the "scale" with silver embossing powder.
Then I made the Route 66 sign, where I used another stamp from CMS128 Road trip. Number 66 is Ideaology Numeric which I have painted with red and black acrylic paint. I fastened the sign with two Ideaology Mini fasteners.


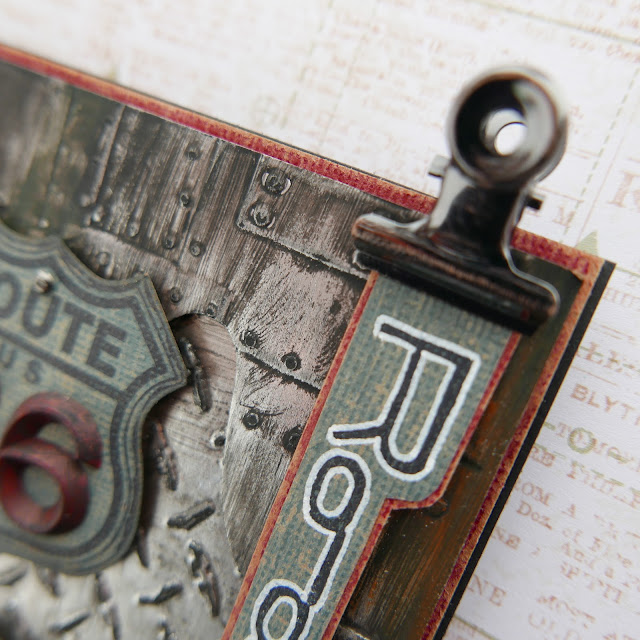
I stamped the Roadtrip stamp from the same stampset as earlier with black archival ink on some sanded Kraft cardstock. Then I used a white Posca pen to write around the stamped text. I matted the word on some red sanded Kraft cardstock and put it on the card fastened with a Ideaology hinge clip.
I finished the card off with a storystick and a long fastener. I used Distress crayon in Festive berries on the story stick to highlight the word travel. Then I mounted my cardpanel on some red sanded Kraft cardstock panel and then on a black cardblank on 3D adhesive to get some height and layers.

Hope you like this project,  and thank you very much for visiting.

/Susanne


måndag 8 april 2019

Bee 🐝 card

Hello and welcome!

Today I will show a card using some of my “bee themed” products from Tim Holtz.
I started with the background, Distress mixed media heavystock and used some Texture paste opaque through a Tim Holtz honeycomb stencil THS005. Let dry. Then I used Mustard seed Distress Oxide. Then I put some Gathered twigs DOX on my craftmat and mixed with water. I used a brush to put on the “wash” and let it “pooled” around the texture. I like that effect. Finally I distressed the edges with Walnut stain Distress ink, and then splattered acrylic paint in black over the background, and also splattered some Gathered twigs DOX.
I then stamped the background with a Tim Holtz honeycomb clearstamp and then with a brushstroke stamp from CMS293. I like that stamp a lot. 

The “No 4” is from TH die set 661187 Stencil numbers. I cut it from Kraft cardstock in black and then sanded for a distressed look.
Here you can see the stamps, the “pooling” and the splats. 

The bee is a stamp from CMS328 Entomology. I stamped the bee and colored it with Distress ink´s and cut it out with the coordinating dies from Sizzix. Very convinient! Then I stamped the it again on wellum,  cut out the wings, colored them with Distress ink´s and glud them above the other wings to get som layering. 

The word "Original" is a stamp from CMS339, Mailart, which I stamped and embossed with Black embossingpowder. The word "collected" is from CMS 120, Small labels. I inked the background on the "Original plate" with Gathered twigs Distress Oxide and mounted it on some black, sanded kraft cardstock and some Mummy cloth which was colored with Black soot Distress Oxide.
The honeycomb is die cut from Tim Holtz edge die Honeycomb.

"Personally selected is a stamp from CMS358, Music & Advert. I fastened the label with a Ideaology clip which I have colored with Mushroom Alcohol ink.

Hope you enjoyed my card!

Thanks a lot for visiting, 

/Susanne