Blogg

Blogg

mÄndag 29 januari 2024

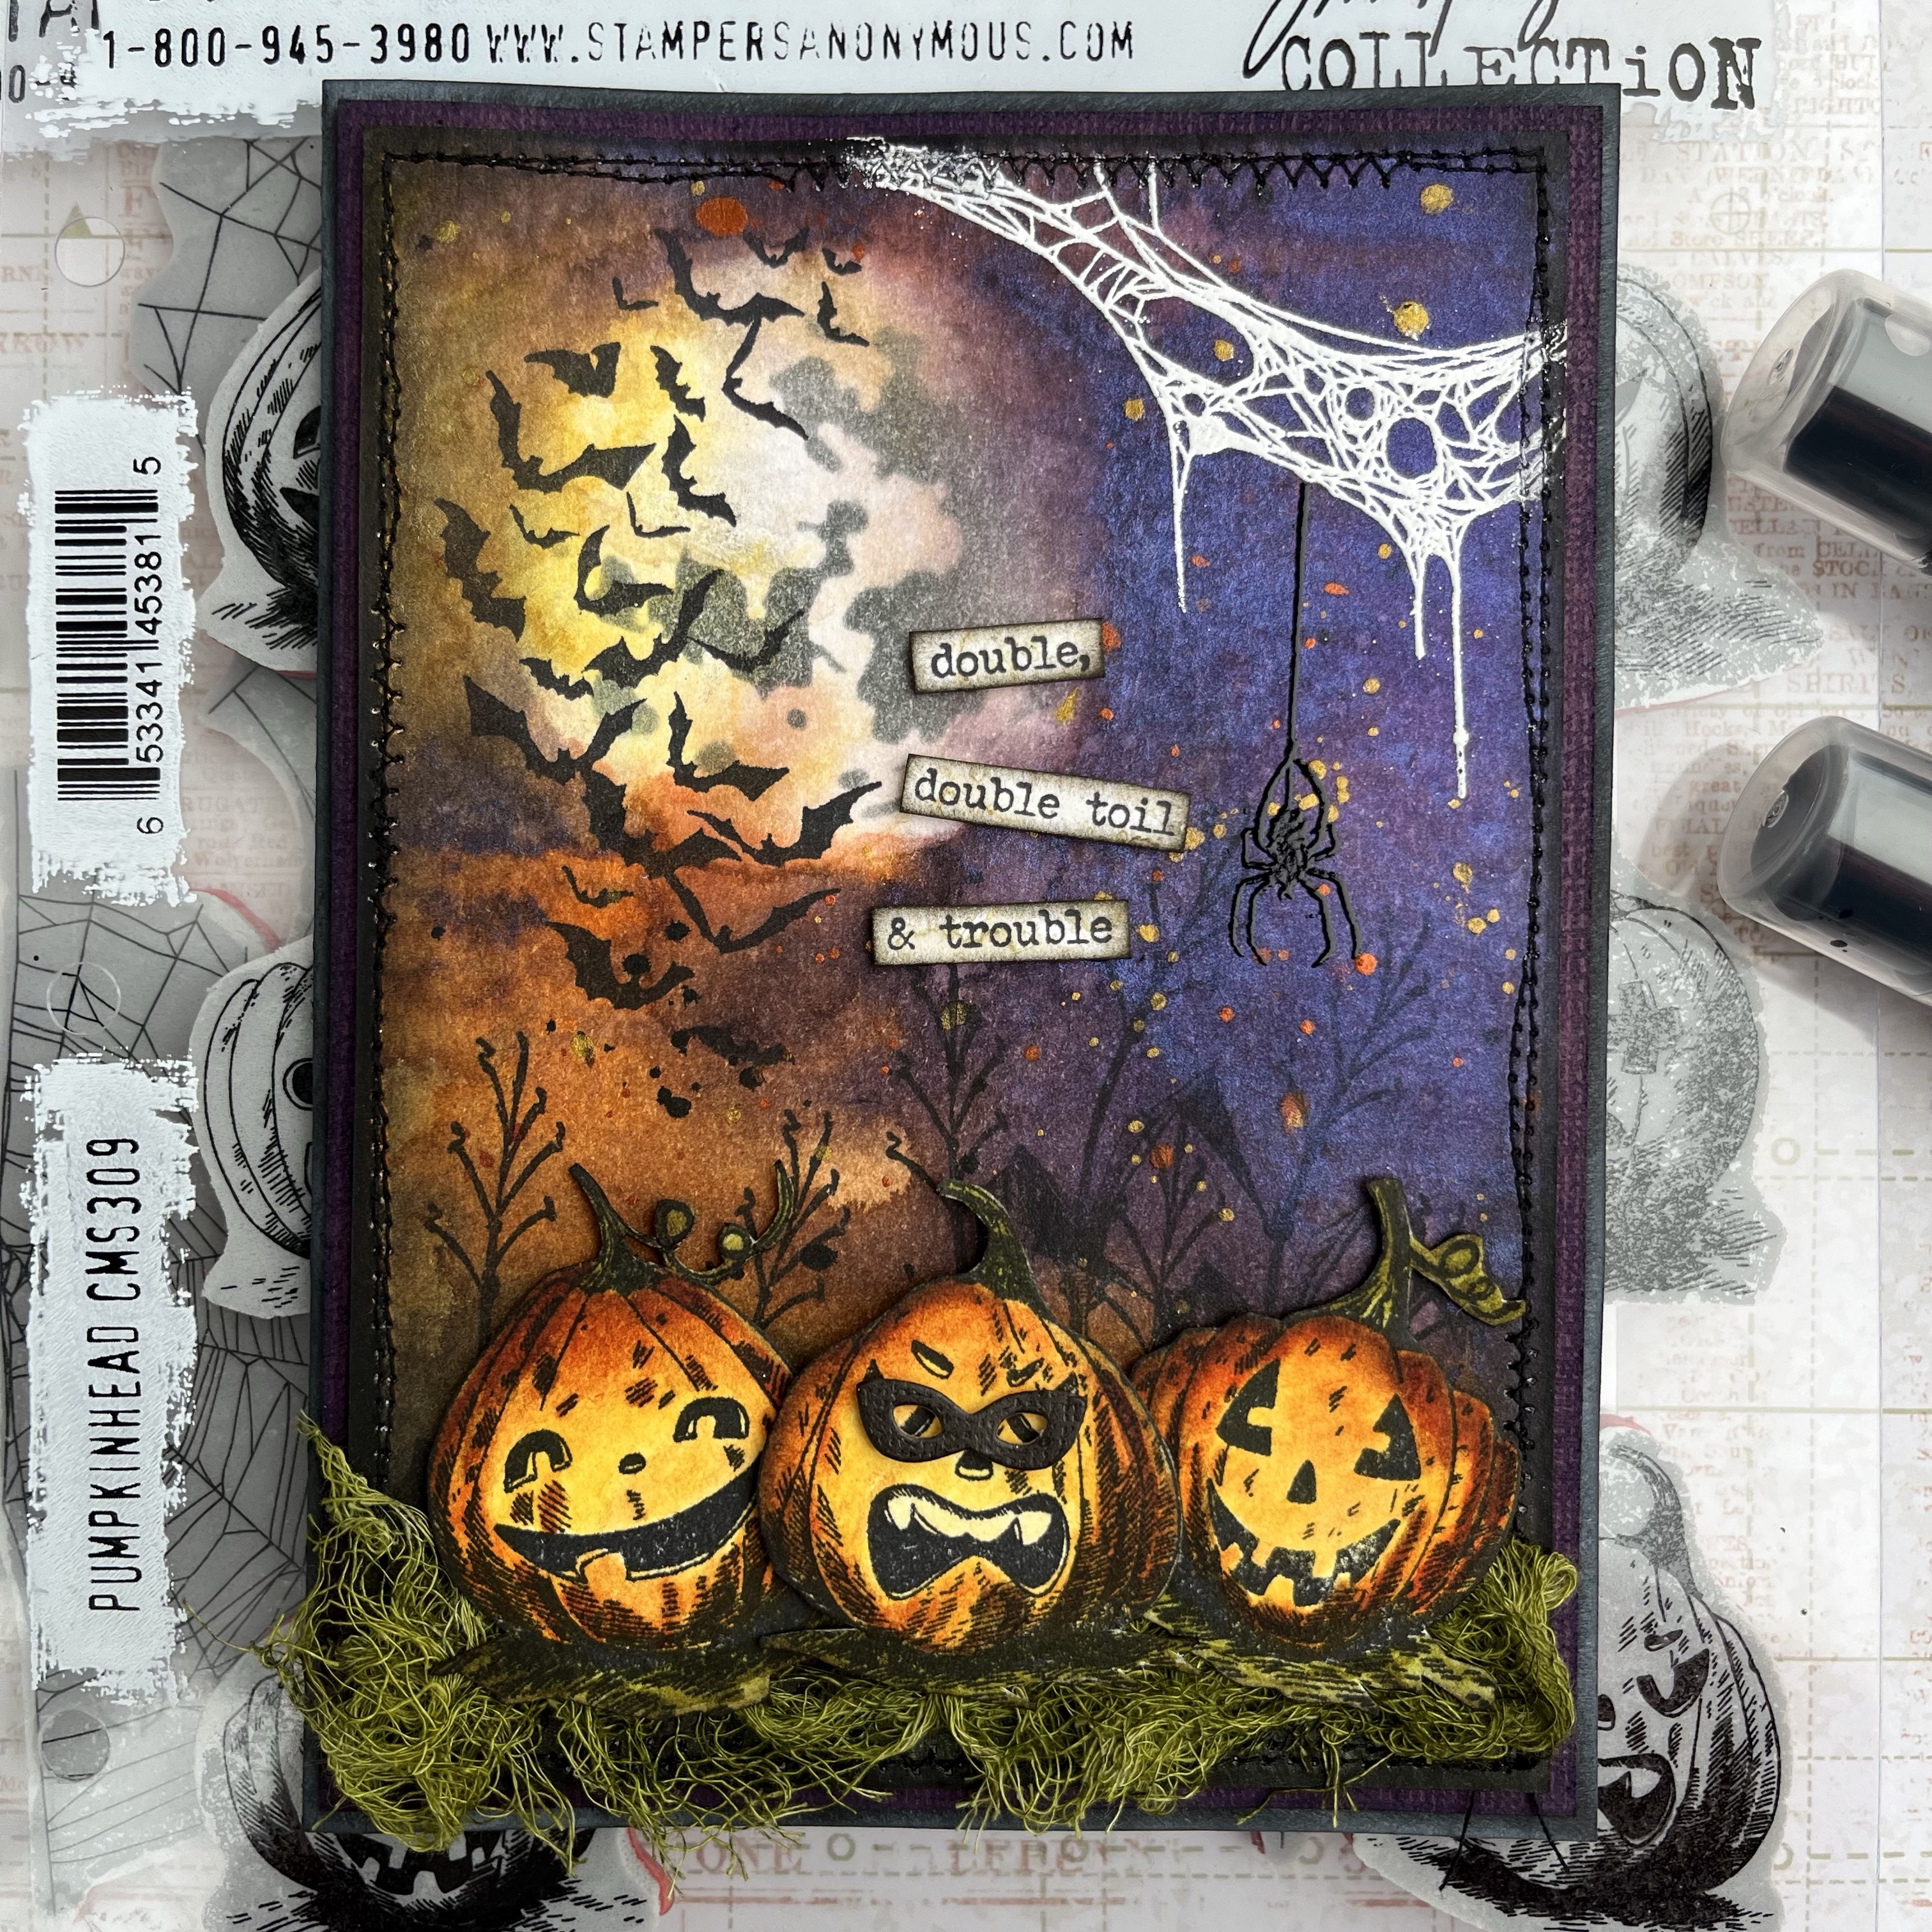
Two Halloween cards with Pumpkin heads

Hello and welcome, 

Edit: These cards was given away around Halloween, I have just forgot to post them here😊

Today I will share two quite similar cards, which I will give away to two of my colleagues. 

I have used Tim Holtz products. 


The background is made with Watercolor cardstock, Mica stains, moon mask. Distress crayon Black soot around the edges. 
Stamped the bats from CMS451 The scarecrow. Embossed the webs with white embossing powder CMS346 Tangled webs.
Splattered Mica stains on the background. 
Stamped the grass from The scarecrow set. 
Stitched around the edges with my sewing machine.


Hickory smoke Distress ink through the Moon mask. 


Embossed a black spider from an old clear stamp set. 


I stamped the pumpkin heads CMS309 on Watercolor paper and colored them with Distress inks. 

I also stamped a “Tiny text” CMS409 on a piece of Pumice stone inked paper. Inked the edges with Black soot Distress ink. 

I diecut a mask for the pumpkins in the middle, from 664195 Masquerade, from black Kraftstock. 


I cut some cheese cloth and inked it with Peeled paint, Forest moss and Black soot Distress ink. Glued it to the card with Distress collage medium. Then adhered the pumpkins with 3D foam. 

I also mounted the background to a piece of inked Ideaology cardstock. 
Then adhered to black card blank. All layers with 3D foam between for dimension. 

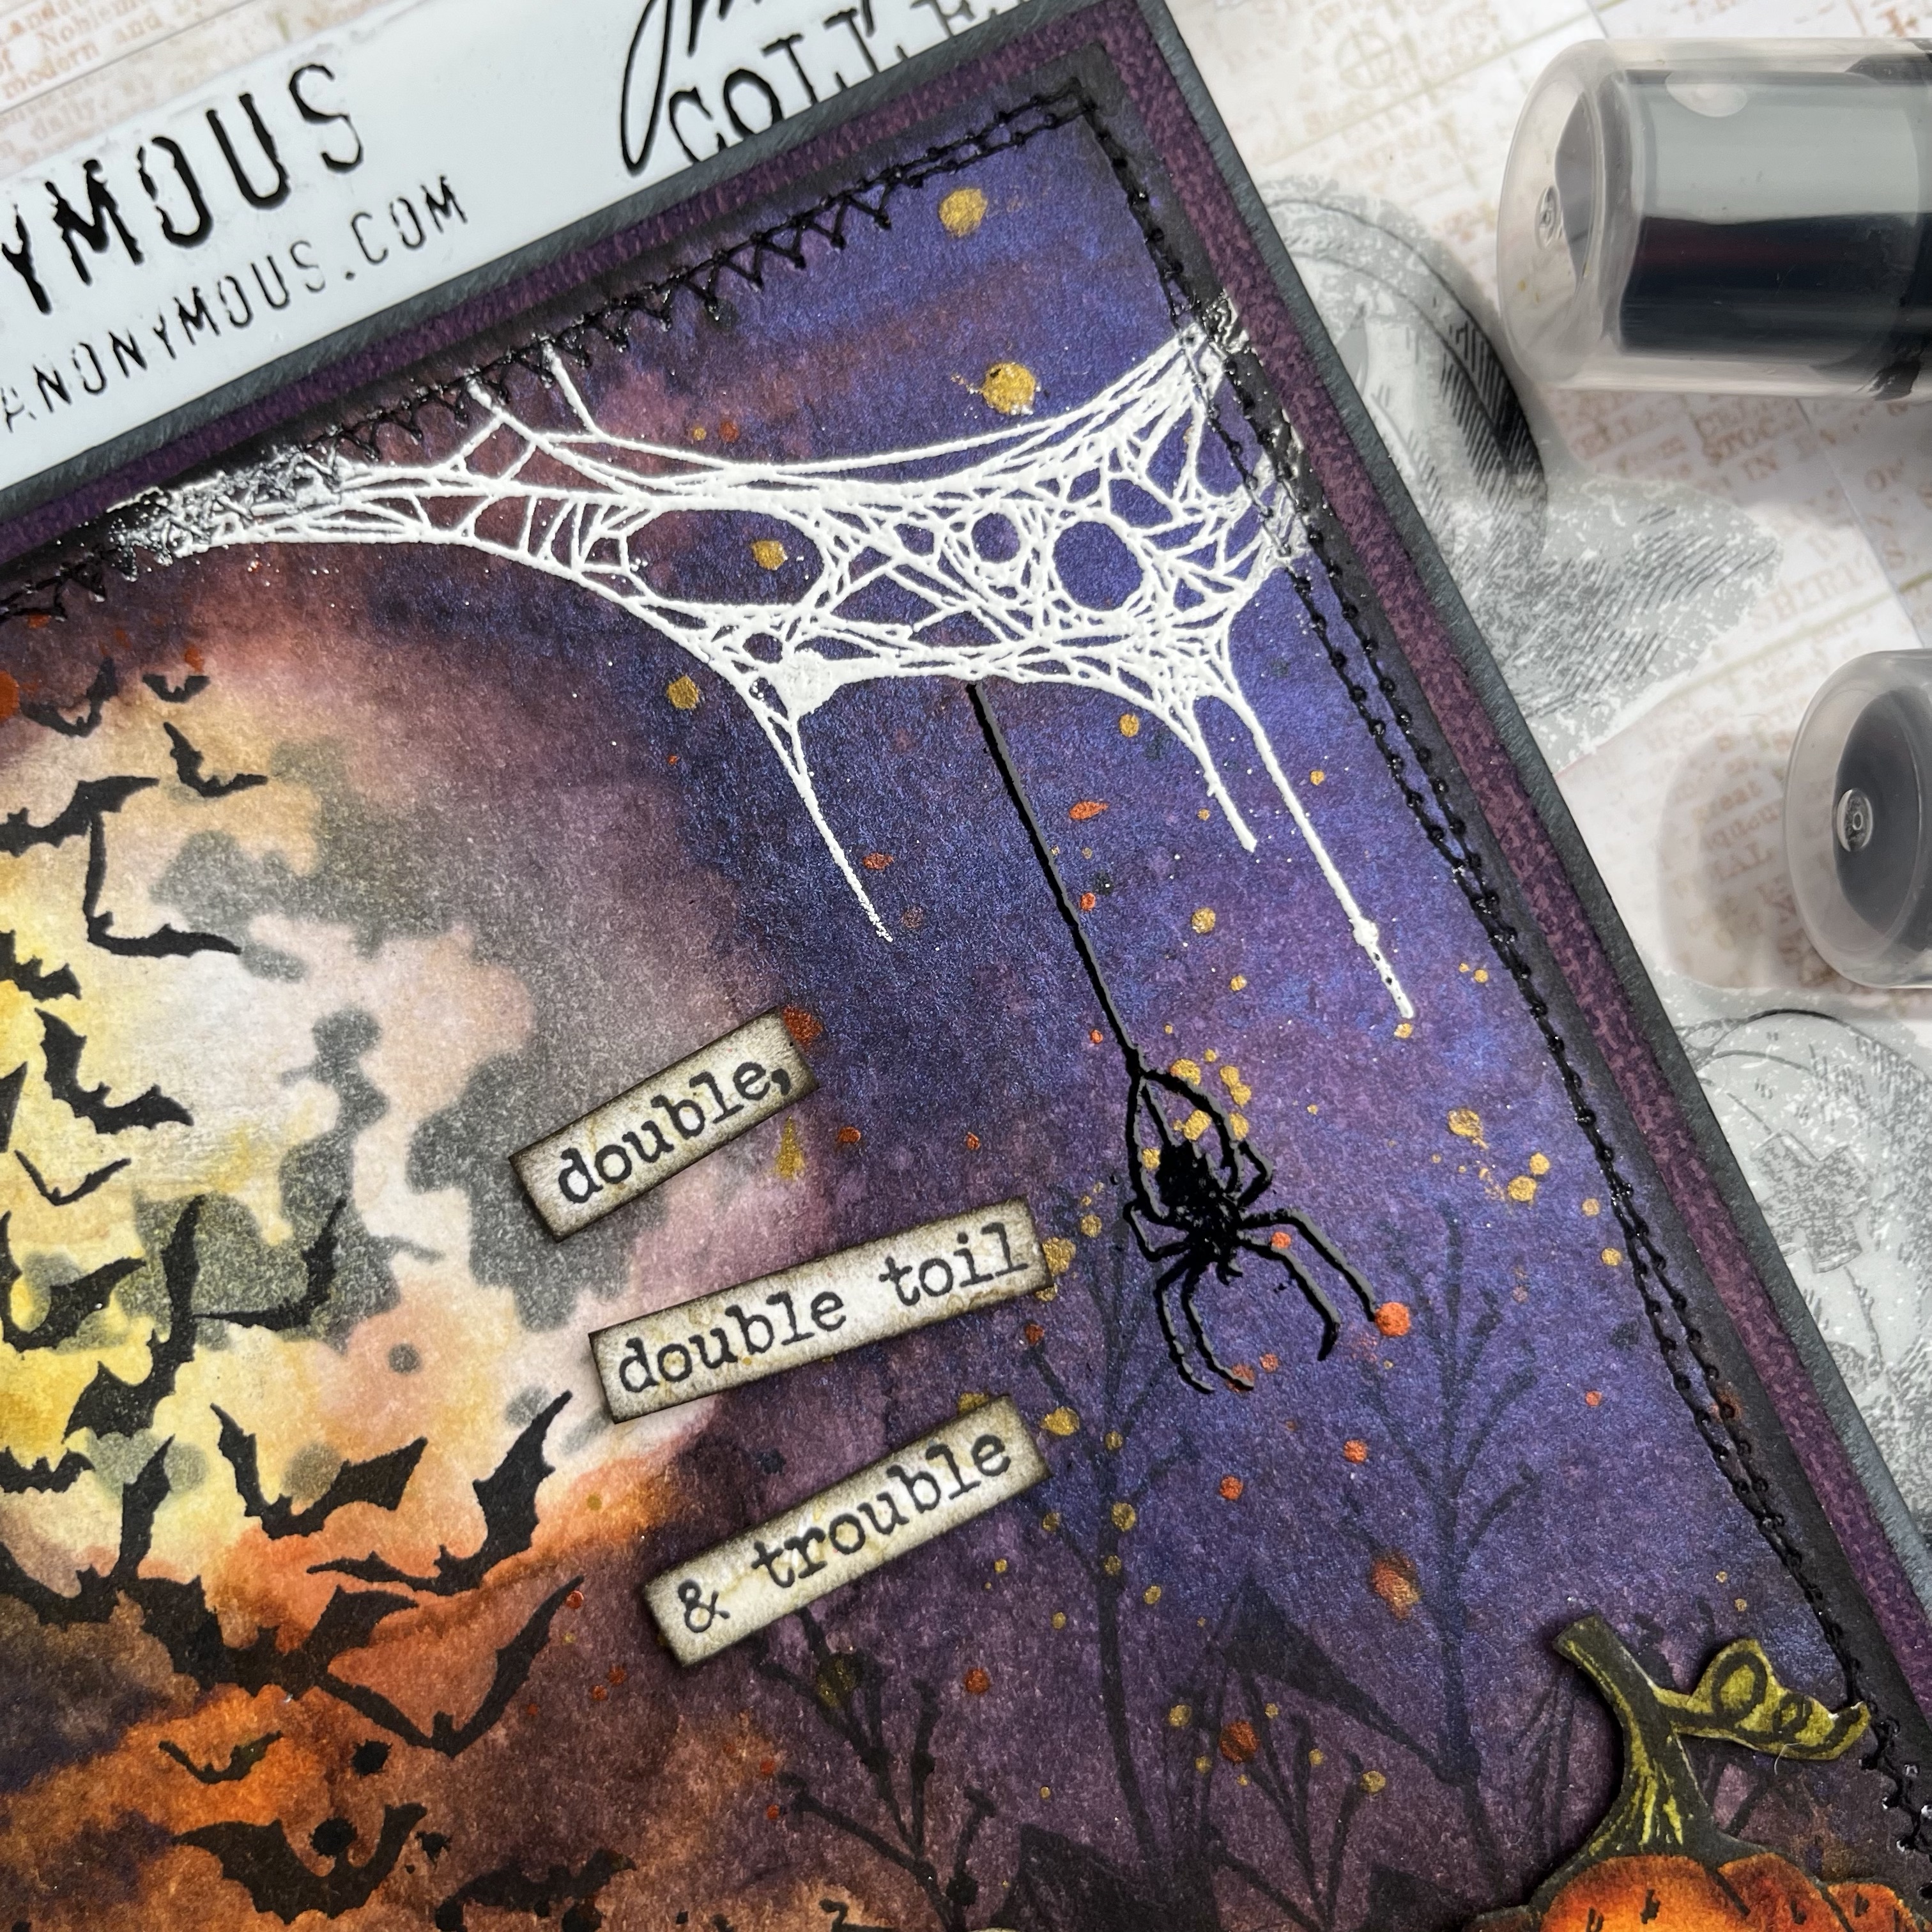
Here are the photos on the second card: 


You can see that the backgrounds differ a bit. On this background I mixed the Mica stains with Distress spray stain. And there is another text on this card. 


I also have some photos from the inside of the card. I used the THS169 Peekaboo stencil with some Distress Grit paste Glow. The Halloween text is embossed in white and are from the stamp set CMS138 Apothecary. An old favourite of mine. 


Supercool look! 

Thank you very much for visiting, 

/Susanne 

fredag 22 december 2023

Christmas gift tag

Hello and welcome, 

Today I have a gift tag for a Christmas gift to a collegue at work. 


I started to cut a tag from Kraft cardstock. Then stamped the Christmas tree from CMS476 Winter woodlands with Distress Oxides. Then I masked the stamp and inked the CMS475 Ticking and grain with Lumberjack plaid DI, spritzed with water and then stamped. Dried with my heat tool. 

I inked the edges with DI Ground espresso and then used a glue stick randomly on the edges. Then I used gold foil.

Then I stamped some post stamps from CMS323 Holiday postmarks. 


Then I stamped some images from CMS473 Christmas cartoons (Such a cool set by the way!!!) on Watercolor papaer and then colored with Distress inks and reinkers. I fuzzy cut them and added to the tag with 3D foam. 

I diecut “Joy” from watercolor cardstock with Sizzix die 666330 Big tidings. Then I inked a part of it with Distress embossing ink and used Embossing glaze Rustic wilderness. Heated with embossing gun. Then I inked the rest of the tag and used Embossing glaze Lumberjack plaid. Heated again. Finally I used  Distress crayon in Walnut stain lightly over the glaze, and smeared it out with my slightly damp finger. 

I then spritzed white Distress paint with my splatter brush on the word to imitate snow. Dried with heat tool. 

I also cut the “greenery” from Watercolor paper, inked with Distress inks, and on their berrie I used Distress glitter Clear rock candy. Distress matte medium as glue. 


I also put a piece of string on the top of the tag.


This is the backside of the tag, where I have used Distress inks and some stamps from different Tim Holtz sets. 

I will try this tag over at Simon says stamp Monday challenge - Let it snow.

Hope you will have a nice and Merry Christmas🎄.

/Susanne 

torsdag 21 december 2023

Christmas card

Hello and welcome, 

Today I have another Christmas card. I have as usual used Tim Holtz products. 

On this card I have used Tami B’s iron off technique on the Christmas tree. 


First I inked my craft mat with Evergreen bough DI, spritzed with some water and dipped the card (Watercolor cardstock). Then heat set with my heat tool. Then stamped the tree from CMS476 Winter woodlands with Distress embossing ink and put on clear embossing powder. Then heated with my embossing tool. Now the embossing works as a resist. 


For the next step I stamped the other stamp with the pinecones and things with Ground espresso Archival ink. Then I used my Mica spray stains to make the blue background. Then I ironis off the clear embossing powder. 
Next I used the THS115 stencil, Falling stars, and Grit paste Snowfall. 
I stitched around the edges with my sewing machine and inked the edges with Distress ink Ground espresso. 

I then embossed the text stamp with black embossing powder. 


I inked a piece of Watercolor cardstock with Pumice stone DI and stamped the ”Christmas tree advert” stamp with DI Lumberjack plaid. Used my Tiny attacher to attach the piece to a velvet ribbon. 


I attached the card to a piece of Kraft cardstock with 3D adhesive. The Kraft card are also inked on the edges with DI Ground espresso. Then finally mounted to a white cardstock card, which also got inked edges.

I will try this card over at Simon says stamp Monday Challenge  - Let it snow.

Thank you for visiting, 
/Susanne


söndag 17 december 2023

Joy card

Hello and welcome, 

It is soon Christmas and I have done a little bit here and a little bit there on my Christmas cards. But here is a finished card. 

I have used Tim’s products and this ”Joy” dies is one of my favorites this year. (666330) Big tidings. 


For the background I have used Watercolor cardstock and Distress inks. I also stamped the Advert stamp from CMS358 Music and Advert. I then used the THS021 Speckles stencil and Grit paste snowfall. Then I stamped some postage stamps from CMS323 Holiday postmarks. 


I inked around the edges with Ground espresso Distress ink and then stitched around the edges with my sewing machine. The word ”Joy” is diecut from Watercolor cardstock and then inked with Lumberjack plaid Distress ink and then I used Embossing glaze in the same color. Then I used Distress crayon in Walnut stain over the glaze. 


The bow and tree are also cut from Watercolor cardstock and inked with Distress inks. 


The small text are Clipping stickers Christmas which I have adhered with 3D adhesive on some red cardstock. 


I adhered the card to a sanded piece of red cardstock with 3D adhesive, Thank I made a Brown card blank from cardstock and adhered the card also here with 3D adhesive. 
I used a Sakura glitterpen on the star and on the bow for some extra decoration.
I also put a string on the left side of the card. 

I will try this card over at Simon Says stamp Monday challenge - Use dies.

Thank you for visiting, 

/Susanne


mÄndag 27 november 2023

Santa tag

Hello and welcome, 

Today I will show a tag I have made for a class I have taught in my hometown. 

The students made a great job! This is my tag:

I have used Tim’s new Santa and Joy Sizzix die’s and also his new embossing folder.


”God Jul” is Swedish and means Merry Christmas.


I used Clear rock candy glitter on the Joy diecut. 


Thank you very much for visiting my blog, 

/Susanne


torsdag 9 november 2023

Lumber tree card for my Father on Father’s day

Hello and welcome, 

Today I will share a card I have made for my Dear Father on Father’s day on Sunday. 

I have used Tim Holtz new CMS476 Winter woodlands stamps for his card this year. I think it is very suitable because when my Father was a young boy, he planted trees as work.


I started with the background, a piece of Watercolor cardstock. Then I inked my craft at with Pumice stone Distress ink and Oxide, spritzed with water and then dipped the paper. Heated with my heat tool and then dipped again until satisfied.

Then I inked up the tree stamp with different green Distress Oxides, and then used clear embossing powder. Heated the powder with my embossing gun.

Then I stamped the big stamp with all the trees, branches etc with Ground espresso Archival ink over the tree and on to the background. The clear embossing powder works as a resist, so I did not need to mask the tree. 


I inked the edges with Ground espresso DI and then stitched around with my sewing machine. Spritzed some raw umber acrylic paint on the background. Heated to dry. 
Then I ironed off the clear embossing powder. A technique learned from Tami B. (One of Tim’s makers).
I stamped the “All kinds of lumber” text with Rustic wilderness DOX, then clear embossing powder. Heated with embossing gun.

I used a paperdoll which I colored with some Distress crayons. I used a ”glow pen” and burned  in my Father’s initials on a Ideology Wood slice, and ”fastened” to the card with a Vignette hardware nail.


For the next layer I used Tim’s 3D embossing folder, Lumber on a piece of Mixed media heavystock. Inked the folder with Ground espresso Archival ink, then sprayed a little mist of water and ran through my Big shot machine. Then I used the Ground espresso DOX ink pad and inked the whole piece. Spritzed with some water, then heated. I repeated the last step but with Distress ink Ground espresso instead of Oxide. Inked the edges with Ground espresso DI. 
I cut a piece from that panel and used behind the “North lumber….” stamp. The “North lumber …” is stamped with Rustic wilderness DI on a Pumice  stone inked piece of Watercolor cardstock. Inked the edges with Ground espresso DI. I used Hex fasteners to adhere the panel. I also used a bigger Hex fastener in the top right corner. 


Under the wood panel I cut a piece of green cardstock which I inked the edges on with Ground espresso DI. I used 3D foam between the layers for dimension. 


I glued the panels to a black card blank. 

I will try this card over at Simon says stamp Monday challenge - Grunge it up.

Thank you for visiting today, 

/Susanne


lördag 28 oktober 2023

EEK!

Hello and welcome, 

I think this will be the last Halloween card for this season….

Made with Tim Holtz products. 

This is a card where I used the cool Skulls texture fade 3D. 

I started with the background, watercolor cardstock, Distress Oxide and the 665771 Skulls 3D folder.


I stitched around the edges with my sewing machine. I also used Distress crayon Walnut stain.


On the EEK! word I used Distress Mica stains, and highlighted with white Posca pen. 


I used 3D foam when mounted all the diecut details. All the diecut details is inked/colored with Distress inks. 

I mounted the card on a piece of sanded orange metallic Kraft stock. The to a black card blank.

I used the same images inside this card as in my last blogpost.


“Happy Halloween” stamped and embossed in white, CMS138 Apothecary.


Peekaboo stencil THS169, Distress Grit paste glow! 

I will try this card over at Simon says stamp Monday challenge - Spooky

Thank you for visiting today, 

/Susanne